
Last updated October 16, 2026
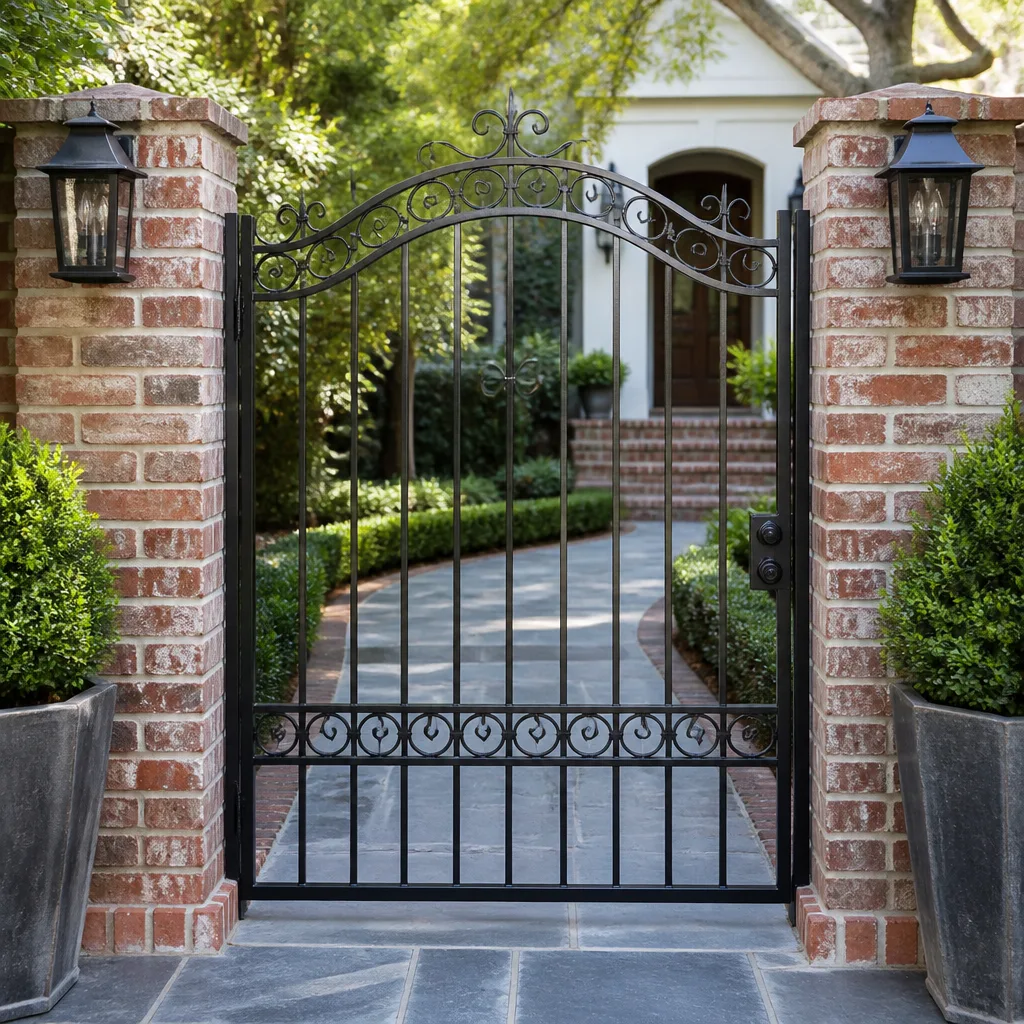 Wrought iron
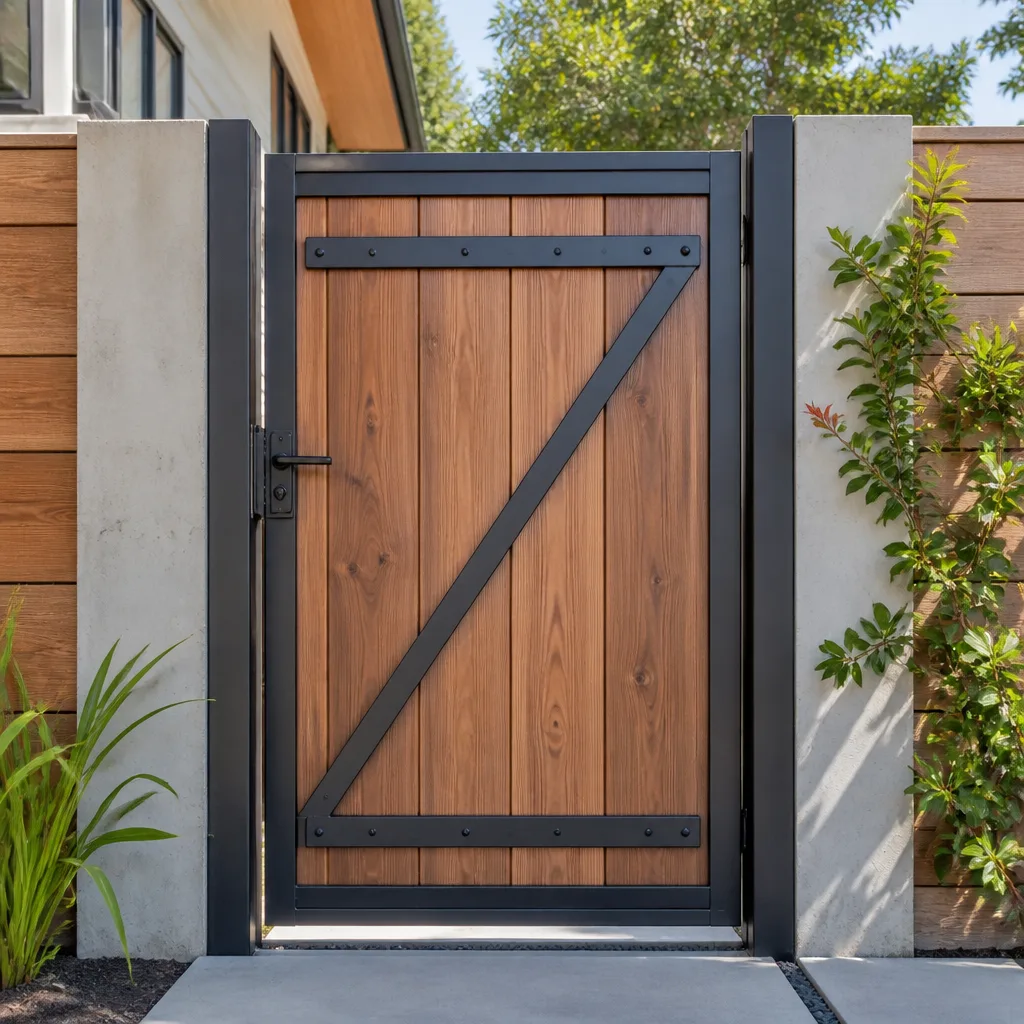 Wood & steel frame
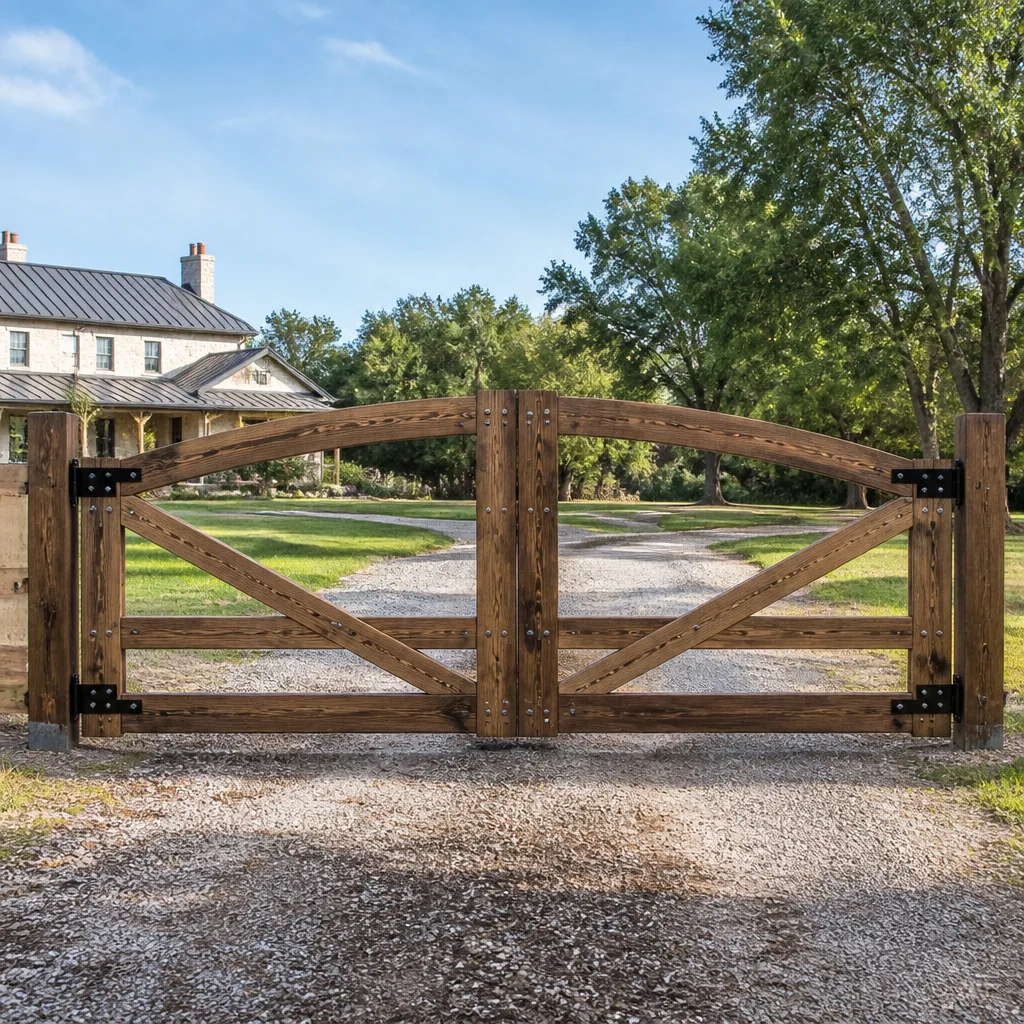 Farm & ranch
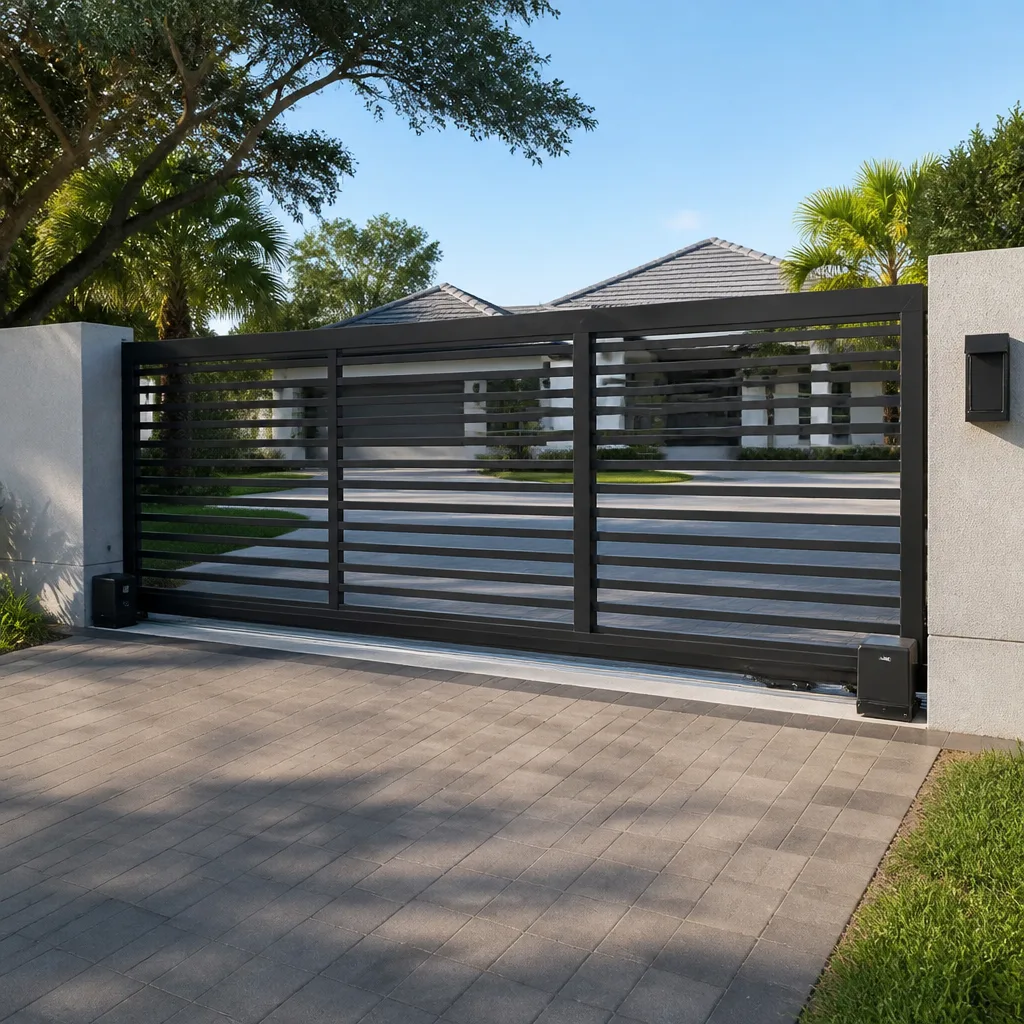 Sliding driveway gates
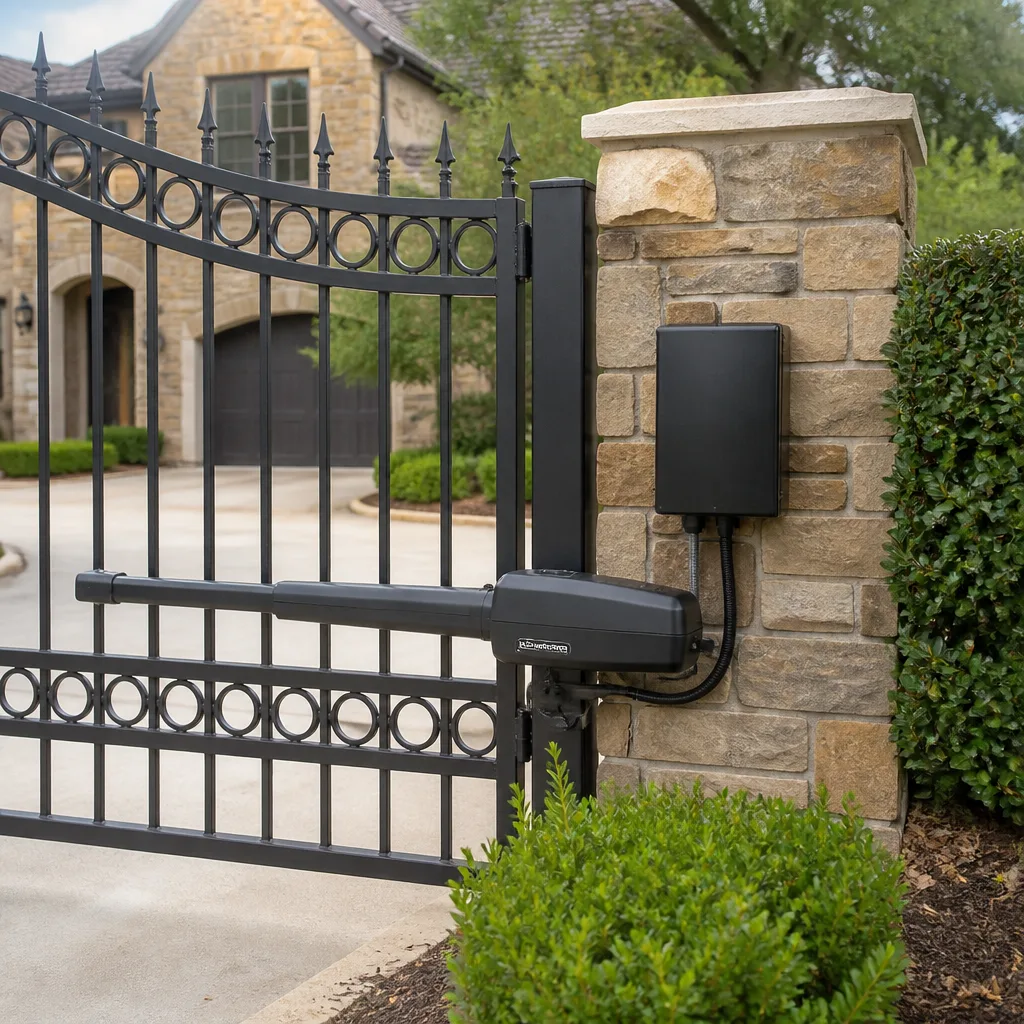 LiftMaster operators
Free on-site gate assessment - hinges, posts, and your LiftMaster or Nice gate operator checked before anything is quoted
The assessment is free and the quote is the invoice.
Get your free estimateGate Repair Warning Signs: A San Jose Homeowner’s Reference Guide
Every gate failure that costs $800 or more gave the homeowner at least one warning sign two to six months earlier. The sign was ignored not out of negligence but because no one had ever told them what it meant. A gate that hesitates for two seconds before moving isn’t “warming up” – it’s a control board or battery condition that, left alone, will strand you on the wrong side of your driveway within 60 to 90 days. This reference guide assigns a plain-English meaning and urgency level to every common gate symptom, so San Jose homeowners can triage in real time instead of waiting for the morning the gate simply won’t open.
Quick Answer
The most common gate repair warning signs in San Jose are a gate that hesitates before moving, grinds or clicks during travel, closes unevenly, or responds inconsistently to remotes and keypads. Any of these symptoms means a component is degrading right now – and most get more expensive the longer they wait. If your gate makes a new sound, moves slower than it did last month, or needs more button presses than it used to, schedule a Gate Repair diagnostic visit rather than hoping it holds.
Styles & brands we work with
Table of Contents
- How to Triage a Gate Symptom: The Three Urgency Tiers
- Sound-Based Warnings and What They Localize
- Visual Warnings That Require No Technical Knowledge
- Remote and Keypad Behavioral Signs
- The Compounding Problem: When Two Minor Signs Appear Together
- San Jose-Specific Factors That Accelerate Gate Wear
- What Gate Repairs Cost in San Jose
- Common Mistakes to Avoid
- When to Call a Professional
- Frequently Asked Questions
How to Triage a Gate Symptom: The Three Urgency Tiers
Not every warning sign is an emergency. Some can be logged and watched for a month. Others mean stop using the gate until a technician arrives. The difference comes down to what the symptom indicates about the load on the operator and the risk of sudden failure. Here are the three tiers we use when San Jose clients call and describe what their gate is doing.
Tier 1: Watch and Log
These symptoms indicate early wear but no immediate risk of sudden failure. Note when they happen, whether they’re consistent, and whether they get worse. Watch them for two to four weeks while you budget for a service call.
- Occasional hesitation – the gate pauses for half a second before moving. This is an early sign of a weakening capacitor or low battery voltage on a solar or DC operator.
- One-second longer travel time – the gate moves through its arc slightly slower than it did six months ago. This points to developing resistance at the hinge or wheel level.
- Faint but consistent sound change – a soft scraping or a barely-audible hum that wasn’t there before. This is often a roller or wheel beginning to flatten.
Tier 2: Schedule Within 30 Days
These symptoms are not emergencies today, but the underlying component is wearing measurably. Waiting longer than a month turns a $150 – $400 repair into a $700 – $1,400 operator replacement.
- Grinding during travel – the gate moves, but it sounds rough. This is metal-on-metal contact at a wheel, roller, or rack-and-pinion gear.
- Gate drifts or sags visibly – the gate leaf no longer sits level. The hinge or roller assembly is taking load it wasn’t designed for.
- Remote range shrinking – you need to be closer to the gate than you were last season. The receiver antenna, the remote battery, or interference from a new nearby device is at play.
- Keypad needs multiple presses – the first or second press doesn’t register. This is a membrane keypad wearing out or a control board input going marginal.
Tier 3: Call Today
These are “the gate may not work tomorrow” symptoms. If you see one, stop using the gate’s automatic function and call for service immediately. This is the difference between a repair and a full electric gate repair in San Jose that involves replacing the operator.
- Gate slams at either end of travel – the limit switches have failed or are out of adjustment. The operator will destroy its own gear train within days.
- Humming with zero movement – the motor is getting power but the output shaft isn’t turning. This is a seized motor or a failed capacitor, and continued attempts to operate the gate will burn out the winding.
- Gate reverses mid-travel for no reason – this is an entrapment-safety sensor fault or a board failure. It can damage the gate and injure a person or pet.
- Burn smell or warm operator housing – the motor or transformer is overheating. Unplug it and call.
In our experience, Tier 3 symptoms are the ones that produce the “it worked fine yesterday” calls (we cover prevention in more guides & resources). That’s because the failure happened over months, not minutes. The slam and the grind were there; they just weren’t understood as a countdown.
Sound-Based Warnings and What They Localize
Gates speak before they fail. The trick is knowing what each sound localizes to. Here are the sounds we hear most often from San Jose driveways – and what each one points to.
Grinding: Wheel or Rack
A grinding sound is metal dragging across metal. On a sliding gate, this is almost always a flat-spotted wheel bearing or a misaligned rack and pinion. The rack is the toothed bar mounted along the gate’s length; the pinion is the gear on the operator output shaft that drives it. When the two fall out of alignment, the pinion scrapes instead of meshes. On a swing gate, grinding points to the hinge bearings carrying load they weren’t made for. Left too long, it rounds off gear teeth or ovalizes hinge bores, and repair cost jumps from a wheel or bushing swap to a rack replacement or hinge rebuilding.
Clicking: Limit Switch or Relay
A rapid click-click-click when you trigger the gate, with no movement, is usually a limit switch that’s stuck open or a control board relay that’s arcing internally. Limit switches tell the operator where the gate’s travel ends. When one fails, the board doesn’t receive the “I’m here” signal and won’t send power to the motor. A relay click with no motor engagement can also be a failing run capacitor. Either way, it is not a “let’s see if it stops” situation. The component has failed; it just hasn’t fully died yet.
Humming Without Movement: Motor or Capacitor
This is one of the most misdiagnosed sounds in gate repair. The motor is receiving voltage and trying to start, but the output shaft is not turning. The two usual causes are a failed start capacitor or a seized gear train. The capacitor is the inexpensive fix – typically under $175 with labor. The seized gear train is not; it often means an operator replacement in the $650 – $1,400 range depending on the brand. If your gate hums but doesn’t move, stop pressing the button. Every press heats the motor winding a little more, and a motor that could have been saved with a capacitor swap becomes a full operator replacement.
Metal-on-Metal: Hinge or Roller Failure
If the sound has a rhythmic quality – a scraping or squealing that matches the gate’s movement speed – look at the hinge side of a swing gate or the roller carriage of a slide gate. This is metal sliding on metal where a bushing or bearing has worn through. The sound localizes to the physical support hardware, not the operator. It’s a straightforward fix if caught early: new rollers, bushings, or hinge replacements typically run $180 – $420 in the San Jose market. If ignored until the gate starts to bind, the operator then works against that resistance and becomes the next failure point.
Visual Warnings That Require No Technical Knowledge
You don’t need to know what a capacitor does to read a gate’s paint. Visual warnings are the easiest to spot and, oddly, the most-often dismissed. Here are the three we teach every San Jose homeowner to look for.
Paint Bubble Patterns That Indicate Internal Rust
When rust starts inside a steel gate tube or post, it expands. The expansion pushes outward, and the paint blisters in a distinct pattern – clusters of small bubbles, often in a line along a weld seam or near a post base. This is not a paint problem. It’s a corrosion problem that has already started eating the metal from the inside. San Jose’s mix of coastal air, winter rain, and dry summer heat accelerates this cycle more than most homeowners realize. Once you see paint bubbles, the structural integrity is compromised. On a post, this means the post is rusting at the base where it’s set in concrete – the highest-load point of the entire gate. On a gate leaf, it means the frame is rusting at the welds. Both are repairable early with grinding, rust treatment, and welding or reinforcement. Both become a full post or gate replacement if the bubbles are allowed to spread.
Concrete Heave Around Post Base
Walk out to your gate post and look at the concrete around its base. If soil is pushing up, cracking the concrete, or pulling away from it, the post has been moving. A gate post in movement means the gate will soon bind or sag. In San Jose, the clay-heavy soil in areas like Willow Glen and Almaden Valley expands dramatically when wet and contracts when dry. This seasonal movement works posts loose over a period of years. The fix is not always a full post reset – sometimes it’s a weld reinforcement or a support plate – but it needs to be evaluated by someone who understands gate loads. A gate that’s starting to sag transfers all its weight to the hinges at the closed position, and those hinges are the next failure in the chain.
Gap Inconsistency Along the Gate’s Travel Path
Stand at one end of the closed gate and sight down its length. The gap between the bottom rail and the driveway should look even. If it narrows toward one end, the gate is sagging. Now run your eye along the gate’s leading edge relative to the fence line. An even gap that becomes uneven means the gate has shifted on its hinges or the post has moved. This is a load redistribution problem. One hinge or one wheel is now carrying more weight than it was built for, and the extra load accelerates wear at exactly that point. Catch it early and it’s a hinge adjustment or a wheel replacement. Ignore it and the gate starts binding, the operator starts laboring, and you get the classic cascade that turns a $200 fix into a full gate rebuild.
Remote and Keypad Behavioral Signs
Remote and keypad symptoms are easy to misinterpret because the instinct is to blame the battery. Sometimes it is the battery – about 40% of “my remote stopped working” calls are resolved by a new battery, which takes thirty seconds and costs a few dollars. But when the battery isn’t the issue, the symptom’s behavior pattern localizes the actual failure.
Needing More Button Presses to Trigger Response
This is the most telling sign. If the gate eventually opens every time but you need to press three, four, or five times, the remote is not the likely culprit. A bad remote battery gives you zero response, not an intermittent one. Multiple presses needed points to a receiver that’s going deaf, a control board input that’s degrading, or interference from a new device nearby. In San Jose, the rollout of new smart meters, mesh Wi-Fi systems, and certain LED arrays has produced a measurable uptick in interference-related receiver complaints. If changing the battery doesn’t restore one-press operation, the receiver or board needs a diagnostic.
Inconsistent Range
Range that changes day to day – five feet one morning, thirty feet the next – is usually environmental or receiver-based. Metal objects moved near the antenna, a new parked car reflecting signal, or a neighbor’s new exterior lighting can all affect range. But a steady decline in range over weeks or months is the receiver antenna degrading, a receiver board failing, or a control board power supply issue. These are progressive conditions. They do not self-correct. If the range has permanently shortened, the receiver needs service.
Delayed Response After Pressing
Press the button and the gate takes two or three seconds to start moving. This is frequently a control board capacitor or relay beginning to fail, especially on older operators from LiftMaster, FAAC, and Elite. The board takes longer to deliver the start signal to the motor. Delay is also a documented behavior on some Mighty Mule and Ghost Controls boards as they age. The delay is not the operator “thinking”; it’s a component struggling to do its job.
Which Points to the Remote vs. the Receiver vs. the Board
- Test with a second remote. If the second remote works perfectly from the same distance, replace the first remote.
- Test the keypad. If the keypad works reliably while the remotes are inconsistent, the problem is the remote-to-receiver path, not the board.
- Test both remotes and the keypad. If every input device behaves poorly, the receiver or the control board is the failure point.
- Check the antenna. A bent antenna, a disconnected coax, or a loose antenna wire on the receiver produces exactly the intermittent symptom profile we see in receiver failures.
This sequence takes five minutes and tells you where the money will be spent before you call. It also prevents the most common misdiagnosis: paying for a new remote when the receiver was the problem all along.
The Compounding Problem: When Two Minor Signs Appear Together
The most expensive repairs we do in San Jose follow a pattern. The homeowner noticed two small warning signs around the same time and treated them as two separate, minor issues – a slightly louder gate and a slight sag, or a gate that’s moving slower and a remote that’s losing range. In fact, two simultaneous symptoms often share one root cause, and the root cause is more serious than either symptom alone.
The Most Common Pairings We See
- Slower travel + louder operation – These two almost always share one root: increased mechanical resistance. Something is binding – a hinge, a wheel, a rack – and the operator is working harder every cycle. The “louder” is the hardware grinding; the “slower” is the motor straining. One binding component, two symptoms.
- Sagging gate + remote inconsistency – A sagging gate often shifts the operator or the antenna mount slightly out of position. The same structural shift that causes the sag also changes the antenna’s reception pattern. You’re not looking at a gate problem plus an electronic problem. You’re looking at one structural problem with an electronic symptom.
- Paint bubbles + slightly rougher travel – Internal rust is expanding the structure, and the expanding structure is throwing the gate out of alignment. The roughness is the misalignment working against the operator. One rust problem, two symptoms.
- Clicking relay + shrinking remote range – A failing control board commonly produces both: the relay that can’t fully close, and the board-based receiver that’s losing sensitivity. It’s tempting to replace the remote battery and hope the clicking stops. It won’t. The board is failing.
Why This Matters for Your Wallet
When two minor symptoms share a root cause, the repair is usually cheaper than treating the two symptoms separately. A hinge replacement that costs $240 also restores quiet operation and full travel speed. An operator remount that costs $380 also restores the remote range and the smooth travel. The expensive path is treating symptoms one at a time over months, letting the root cause compound. By the time the gate finally fails, the operator, the hardware, and sometimes the gate leaf itself have all been damaged. That’s how a $350 repair becomes a $2,800 gate repair in San Jose that includes operator replacement and structural work.
San Jose-Specific Factors That Accelerate Gate Wear
Gates wear differently in San Jose than they do in Phoenix or Seattle. The climate, the soil, and the building patterns here create specific failure profiles. Understanding them helps you read your gate’s warning signs in context.
Clay Soil and Post Movement
San Jose sits on expansive clay soil in large sections of the city. Expansive clay swells when wet and shrinks when dry. A gate post set in this soil experiences seasonal movement – a few millimeters a year in many cases. Over a decade, that’s enough movement to shift post alignment, load the hinges unevenly, and start the sag-bind-operator-failure cascade. Homes in the Alum Rock area, parts of East San Jose, and some sections of Cambrian see this pattern more than homes on the west side, where the soil makeup differs. If your concrete heaves or pulls away from the post base, this is the likely mechanism.
Winter Rain Cycles and Internal Rust
San Jose’s winter rains are not constant, but they are intense when they arrive. Water sits in gate frames and post bases that have compromised drainage, then the warm spring and summer months bake the moisture back out. This wet-dry cycle accelerated by heat is a rust engine. Gates made of untreated or thin-gauge steel – common on production-built homes from the 1990s and 2000s – are especially vulnerable. The rust starts inside, where you can’t see it, and shows itself only when the paint blisters or a weld fails. By then it’s been working for years.
Temperature Swings and Electronic Component Life
Electronic components in gate operators and receivers have rated temperature ranges. San Jose’s summer heat – regularly in the 90s and occasionally over 100 – pushes capacitors and relays to the top of their rated range. Capacitors are especially heat-sensitive; their dielectric degrades faster per degree above ambient. An operator installed in full sun, with no shade, will lose its capacitor three to five years sooner than the same operator on a shaded north-facing wall. This is why we see capacitor failures as a leading operator issue in San Jose, and why component-level repair makes sense in this market where the operator’s mechanical section often still has years of life left.
Clay, Temperature, and the Pattern
Here’s the combined San Jose signature: posts moving on clay, rust blooming inside steel frames, and capacitors cooking in direct sun. A homeowner who sees even one of these markers should expect the other two to appear eventually, because they share the same environmental roots. The good news: all three are addressable with the right preventive work, from post stabilization to frame sealing to capacitor replacement; see our Seasonal Gate Repair Care for San Jose: Year-Round Homeowner’s Guide for timing.
What Gate Repairs Cost in San Jose
We believe in giving real numbers up front. Here are the ballpark ranges we quote to San Jose homeowners for the common repairs this guide covers. These are parts-and-labor ranges based on the equipment we service in this market – LiftMaster, FAAC, BFT, Elite, and others. The actual price for your gate depends on its brand, size, and what the diagnostic shows.
| Repair Type | Typical Range, Parts and Labor | What’s Involved |
|---|---|---|
| Hinge or roller replacement | $180 – $420 | Remove old hardware, install new, realign gate for even load distribution. |
| Capacitor replacement | $140 – $280 | Diagnose start or run capacitor, replace with matched spec, test operator. |
| Limit switch repair or adjustment | $120 – $260 | Replace failed switch or reset travel limits to stop slamming. |
| Swing-gate actuator swap | $450 – $950 | Remove failed arm, install new actuator, set travel and force limits. |
| Control board replacement | $380 – $820 | Remove old board, install new, program remotes and keypad, test safety features. |
| Full operator replacement | $1,100 – $2,800 | New operator matched to gate size and weight, full wiring check, remote setup. |
| Wheel or track repair on slide gate | $250 – $600 | Replace flat-spotted wheels, straighten track, adjust rack engagement. |
| Structural post reinforcement | $450 – $1,200 | Weld support plates, reset or brace post, rust-treat affected areas. |
These numbers are what we tell people on the phone, before a diagnostic visit. If a quote you get is dramatically higher, ask what’s included. If it’s dramatically lower, ask what’s been left out. We quote the price in writing before any work starts, and the price doesn’t change at the door. That’s the Portcullis Gate Repair San Jose way, and it’s been the same since 2008.
Common Mistakes to Avoid
- Replacing the remote before testing the receiver. A new remote won’t fix a failing receiver or a degrading board input. Test with a second remote and the keypad before spending money on a part that may not be the problem.
- Greasing a grinding gate without diagnosing the source. Lubricant masks the sound with the underlying metal-on-metal contact still occurring. The component continues to wear; the grease just makes you feel better for a few weeks.
- Adjusting force settings to push a binding gate open. This is the single most damaging DIY action we see. Cranking up the force overrides the safety system and forces the operator to work against increasing resistance. Entrapment risk goes up; operator life goes down.
- Ignoring a paint bubble because “it’s just cosmetic.” Paint blisters are the visible surface of internal rust. The structure is deteriorating underneath. Cosmetic repaint without treating the rust means the problem continues inside fresh-looking paint.
- Waiting for the gate to stop working entirely before calling. A gate that slams, grinds, or clicks for six months often costs more to repair than one diagnosed at the first symptom. The difference is regularly hundreds of dollars.
- Using a general handyman for a gate-operator fault. Gate operators carry significant voltage and powerful spring or gear loading. A handyman who doesn’t know the specific brand’s safety circuit can leave a gate that reverses unpredictably or fails under load. This is specialized work.
When to Call a Professional
A professional diagnostic is the right call as soon as a symptom moves into Tier 2 by the triage system above. If the gate grinds consistently, the remote range has permanently shortened, the gate slams at the end of travel, or you see two warning signs appearing together, the clock is running. A gate operator is a powerful electromechanical device that can hold hundreds of pounds in motion; the safety circuits that protect your family and pets depend on every component being in adjustment. A trained technician can spot the binding hinge, the failing capacitor, or the compromised post before the failure. Portcullis Gate Repair San Jose offers free estimates in San Jose – call (669) 800-5686 and a live person answers, or read our How to Hire a Gate Repair Contractor in San Jose: A Step-by-Step Guide before you call. Every diagnostic includes a written price before any work starts.
Frequently Asked Questions
Most gate repairs in San Jose run between $180 and $950 depending on the component, with hinge and roller work at the lower end and actuator or board replacement at the upper end. A full operator replacement runs $1,100 to $2,800. Call (669) 800-5686 for an exact quote – estimates are free.
A momentary hesitation before movement is usually a weakening start capacitor or low voltage on a DC or solar operator. The board is sending the start signal, but the motor isn’t receiving the burst of power it needs to begin turning. It worsens over weeks and eventually becomes a click with no movement. A capacitor replacement fixes most cases for under $280.
Grinding is metal-on-metal contact at a wheel, roller, hinge, or rack-and-pinion gear. The specific part depends on whether the gate slides or swings. It will not self-correct, and the grinding component is wearing with every cycle until it fails or takes out the operator. Diagnosis and repair typically run $180 to $420 if caught early.
Same-day and emergency gate service is available in most San Jose neighborhoods. We answer the phone 24 hours a day, 7 days a week with a live person – not a voicemail tree, not a callback queue. Call (669) 800-5686 and we’ll give you a real arrival window.
Yes. Our technicians carry service training and diagnostic experience on nine major gate-operator brands, including LiftMaster, FAAC, BFT, Elite, and Mighty Mule. The technician who arrives already knows the specific system on your property, so diagnostic time is shorter and the repair is more accurate.
A full gate installation in San Jose includes the gate structure or leaf, the operator, the power run to the operator, the safety edges and photo eyes, and all wiring checked and tested. The price is quoted in writing before any work starts, and the installation carries the same 365-Day Done Right Promise as our repairs. Call (669) 800-5686 for a free measure and written estimate.
The Bottom Line
Every gate failure with a four-figure repair bill gave early warning signs. The fix is not to become a gate technician; it’s to learn what your gate is saying and act before the symptom compounds. Watch and log the occasional hesitation. Schedule a service call within 30 days when grinding, sagging, or shrinking remote range appears. Call the same day when the gate slams, hums without moving, or reverse mid-travel. And when in doubt, call someone who answers the phone, quotes the price in writing before the work begins, and stands behind the repair for a full year. That’s the standard every San Jose homeowner should expect, and it’s the one our home has been held to since 2008.
Written by Dean Prescott, Owner at Portcullis Gate Repair San Jose, serving San Jose since 2008.
See the difference
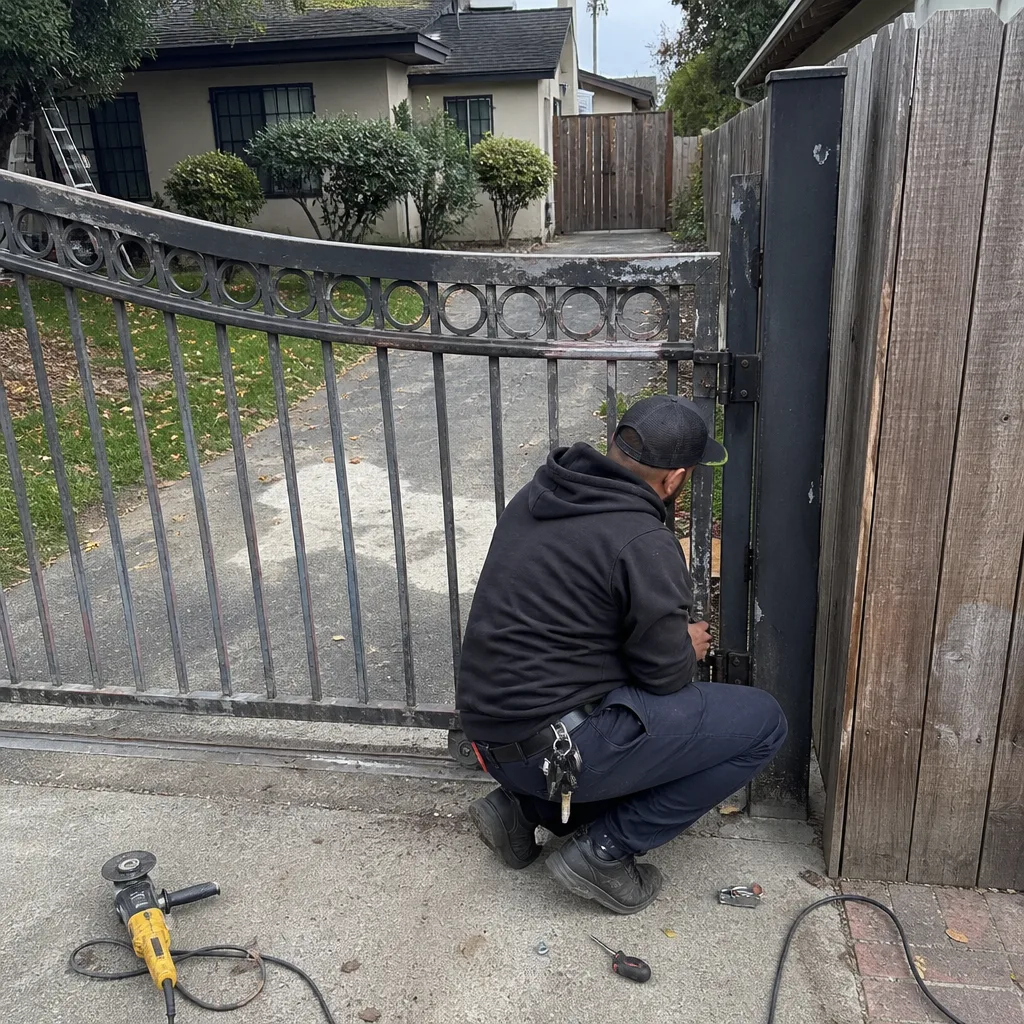 Before
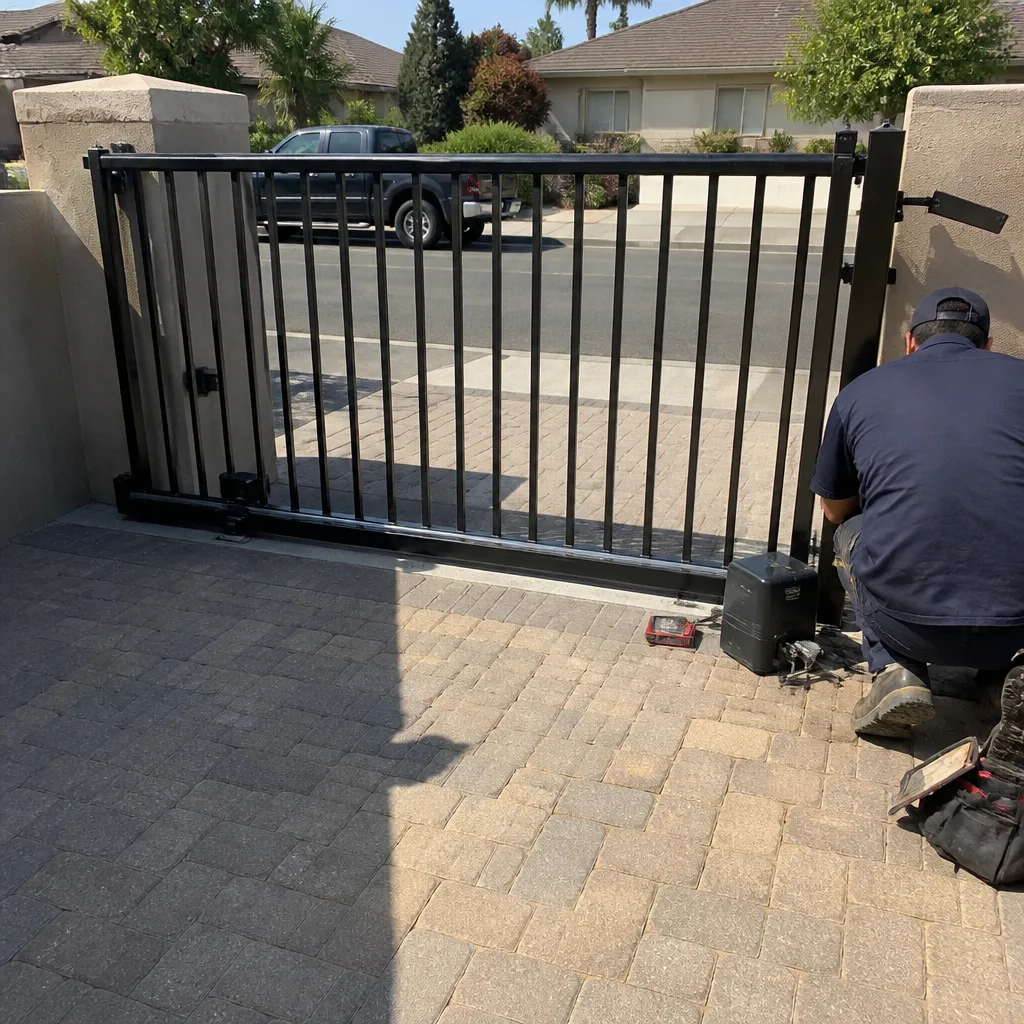 After
After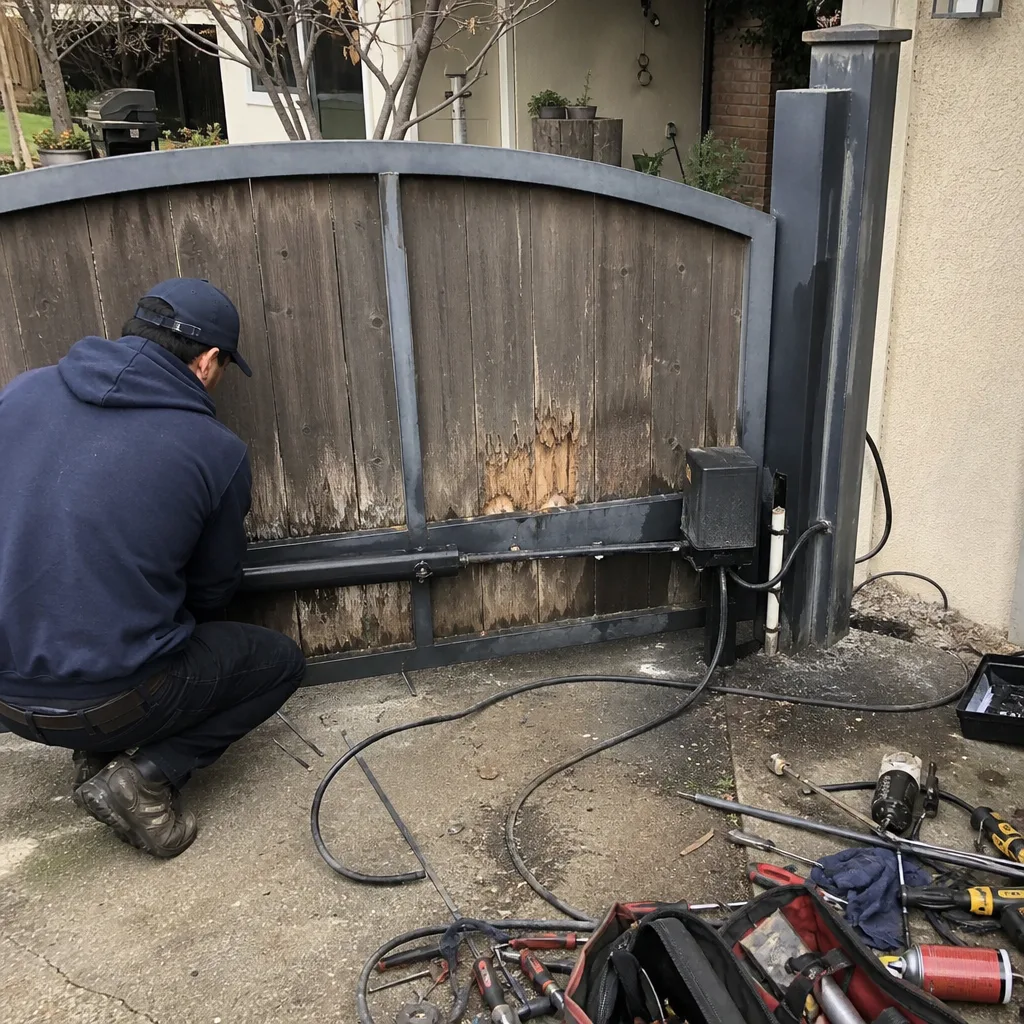 Before
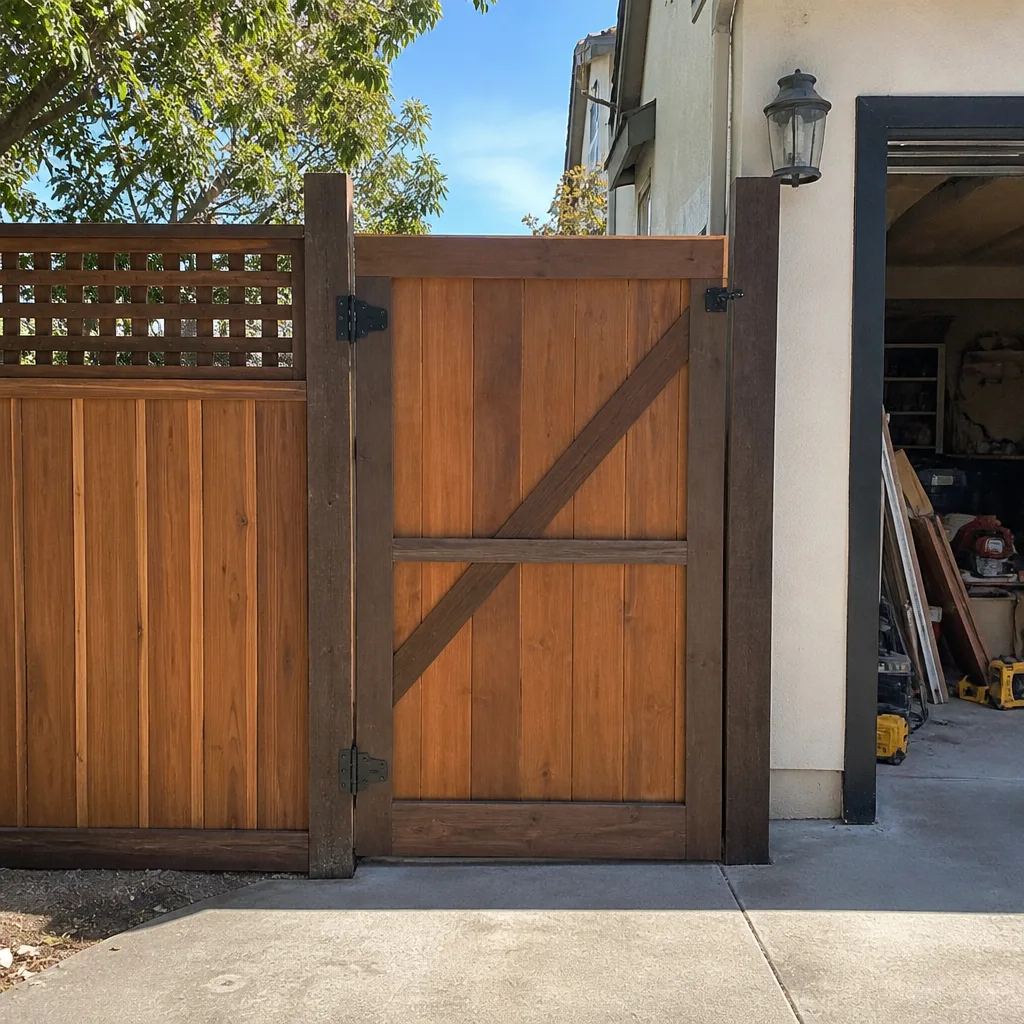 After
After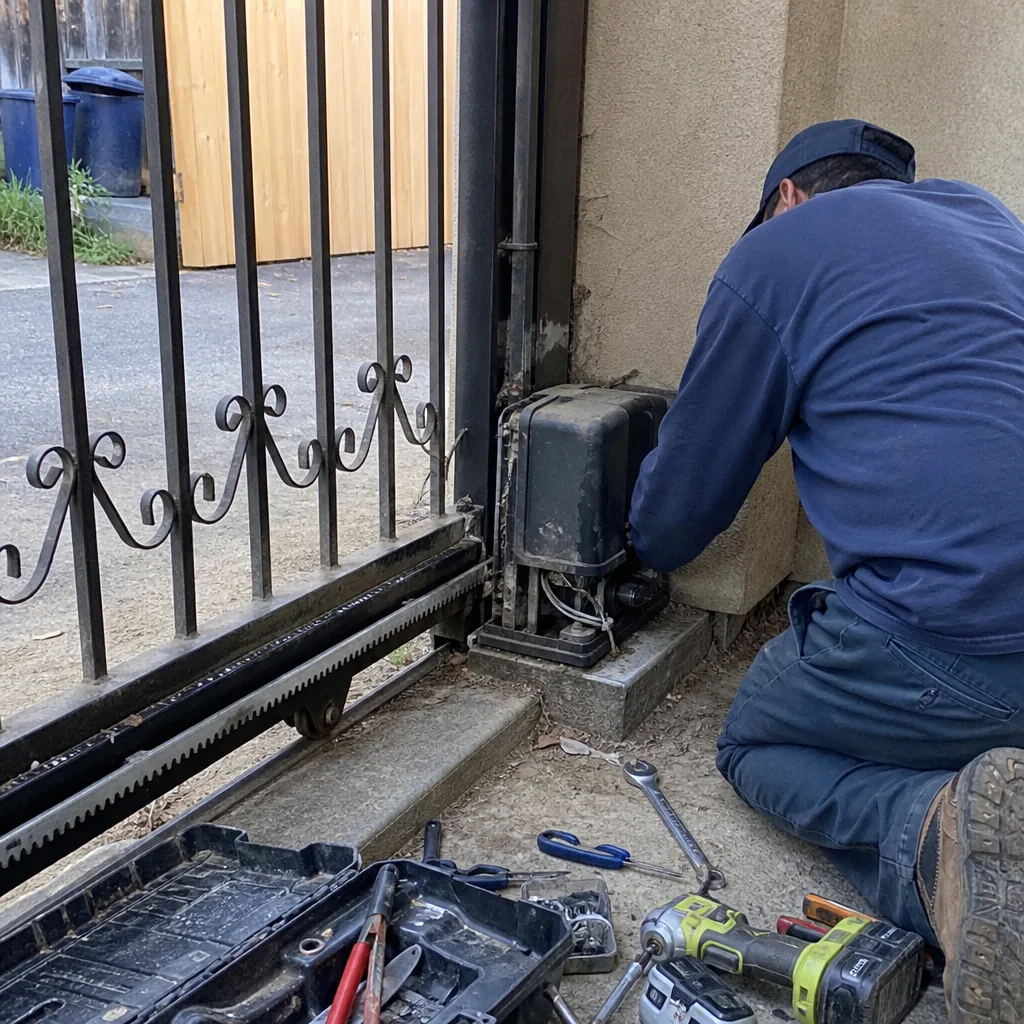 Before
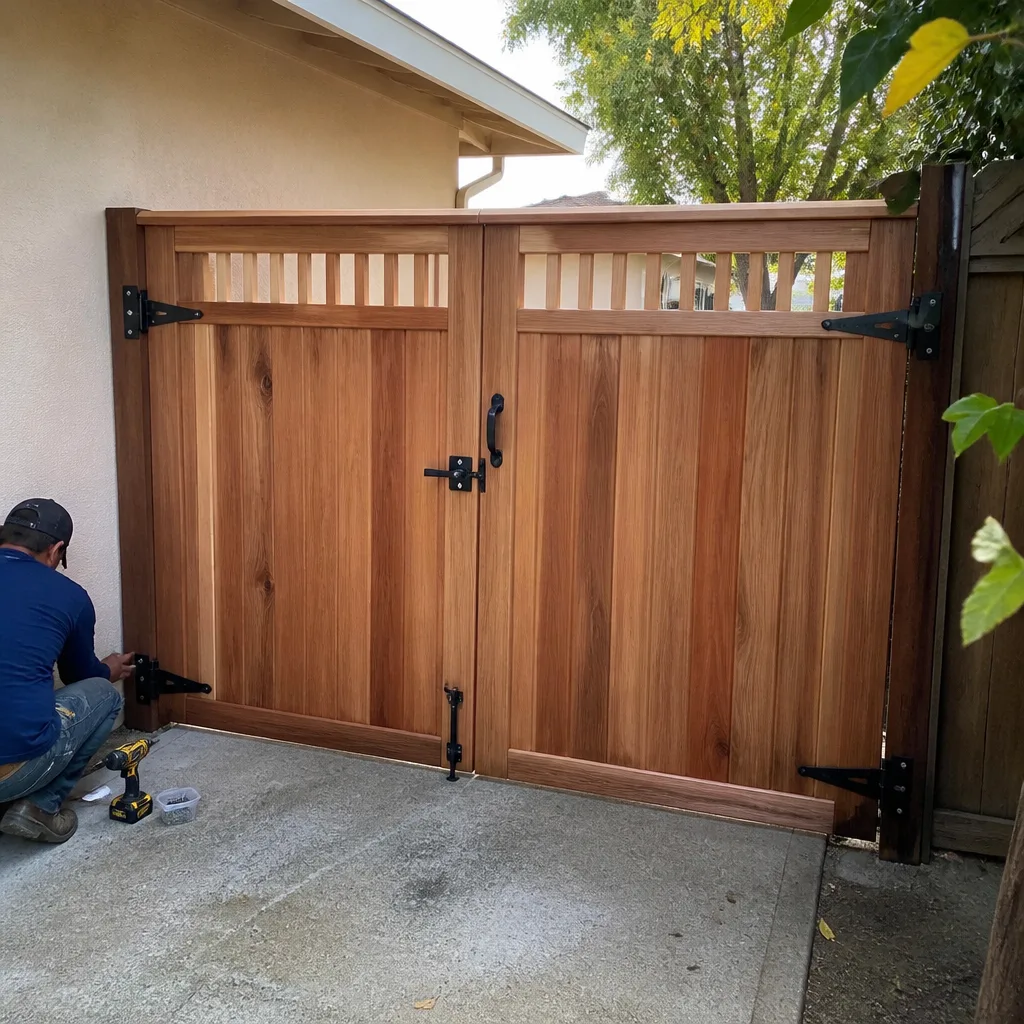 After
After