
Last updated October 16, 2026
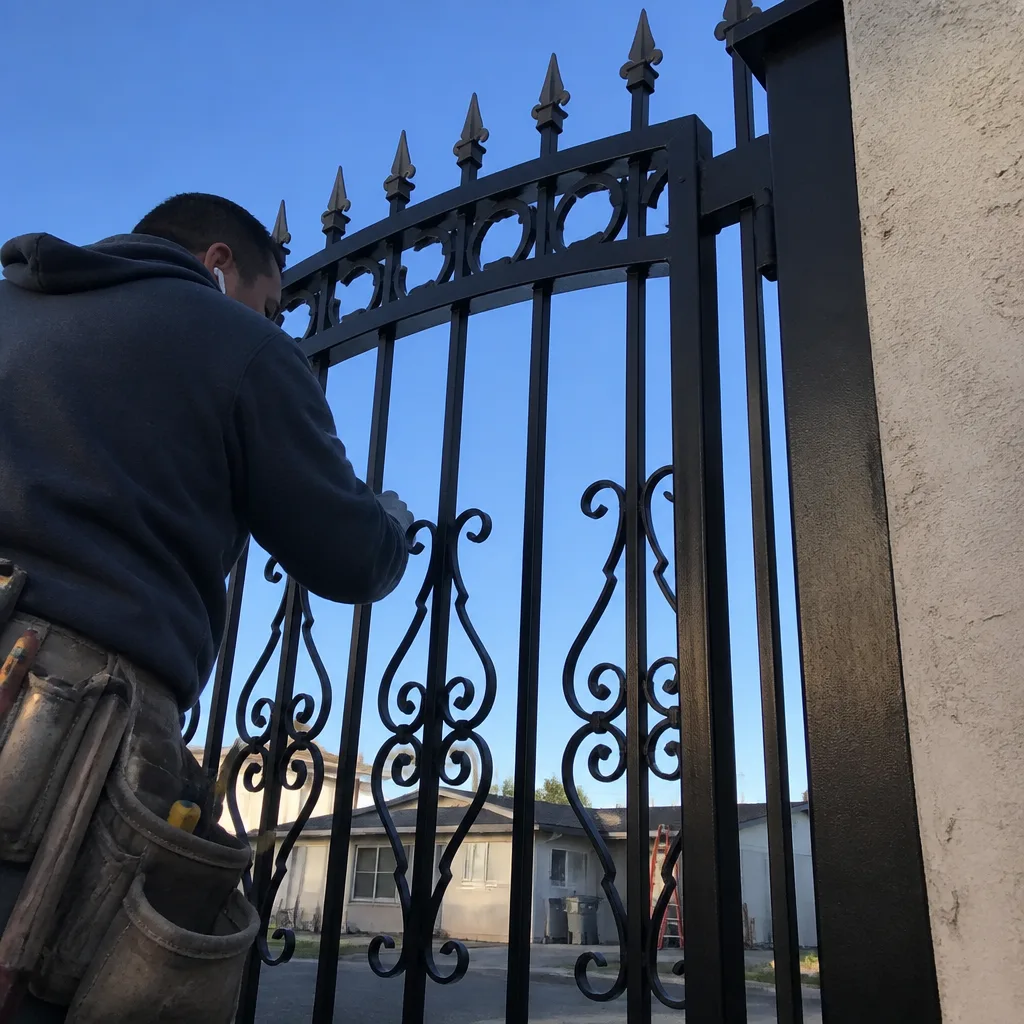
 Wrought iron
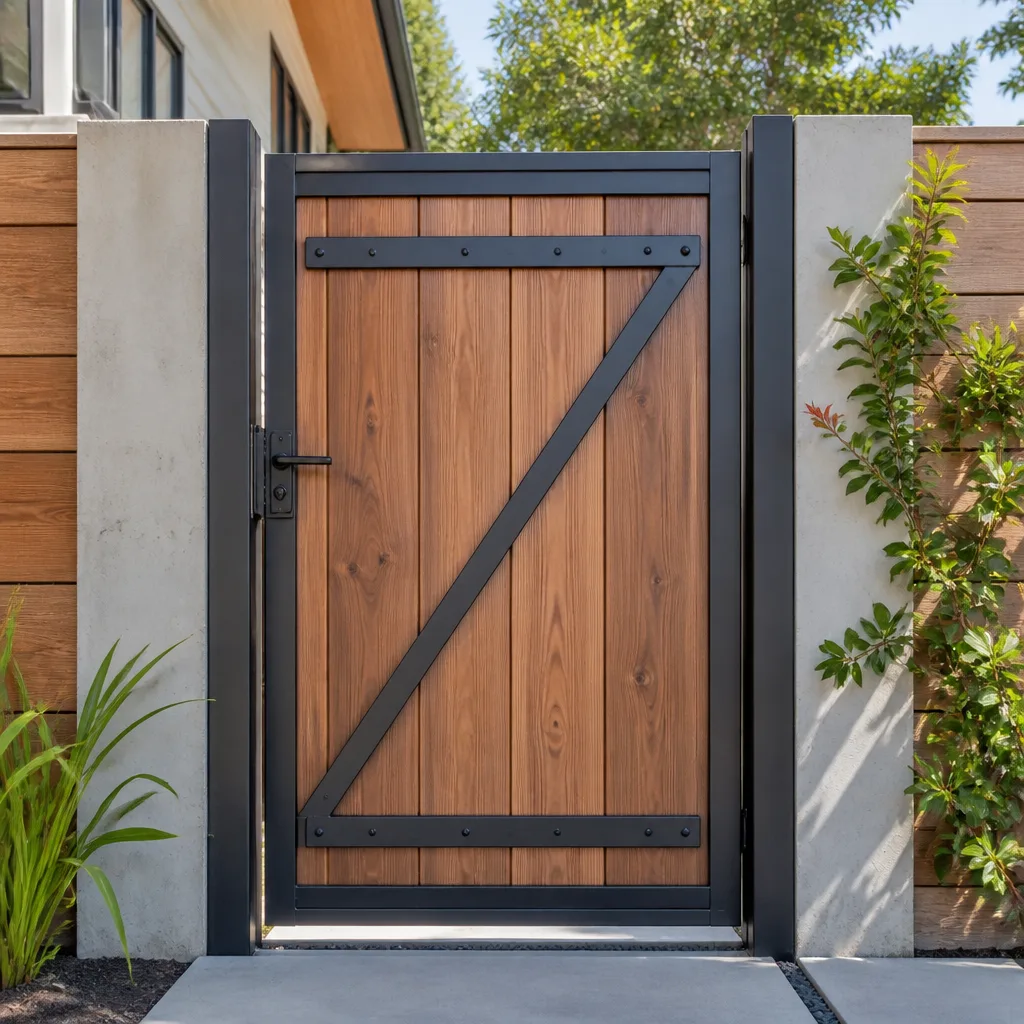 Wood & steel frame
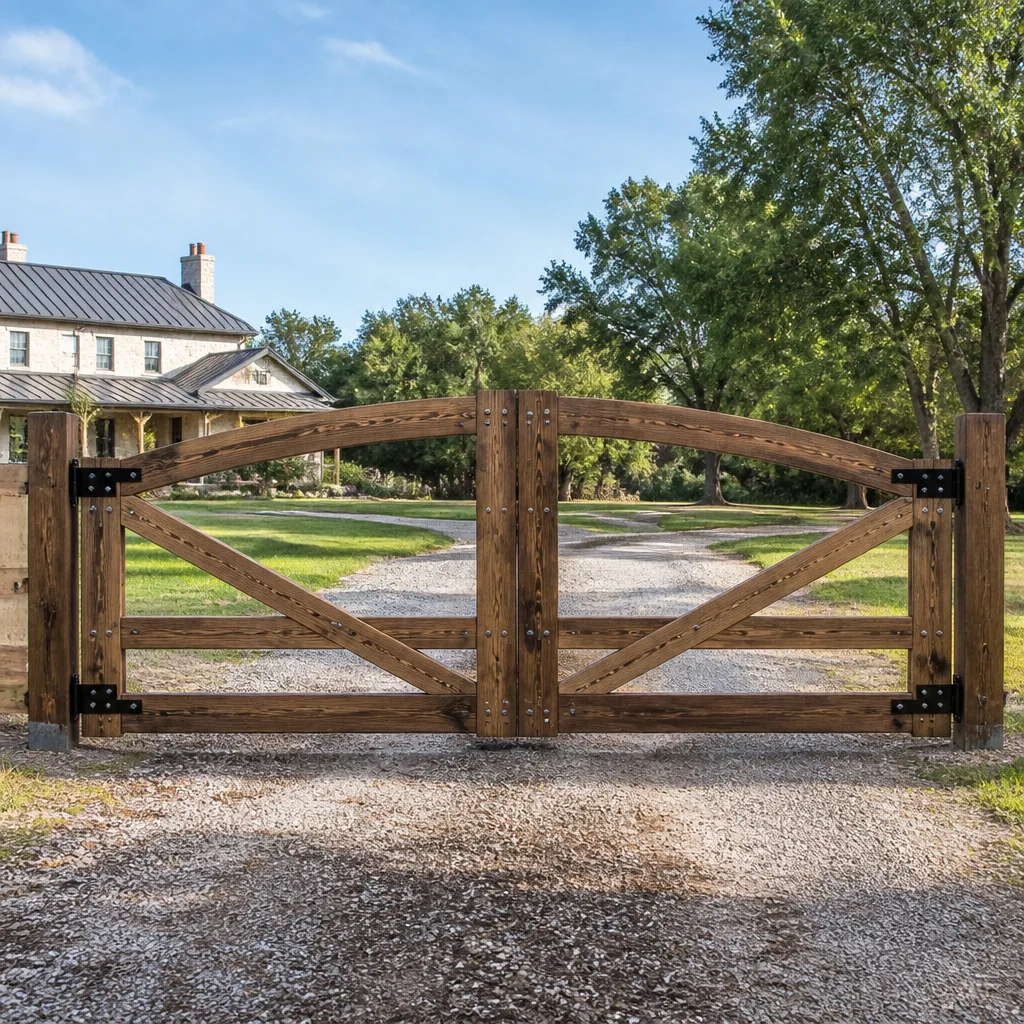 Farm & ranch
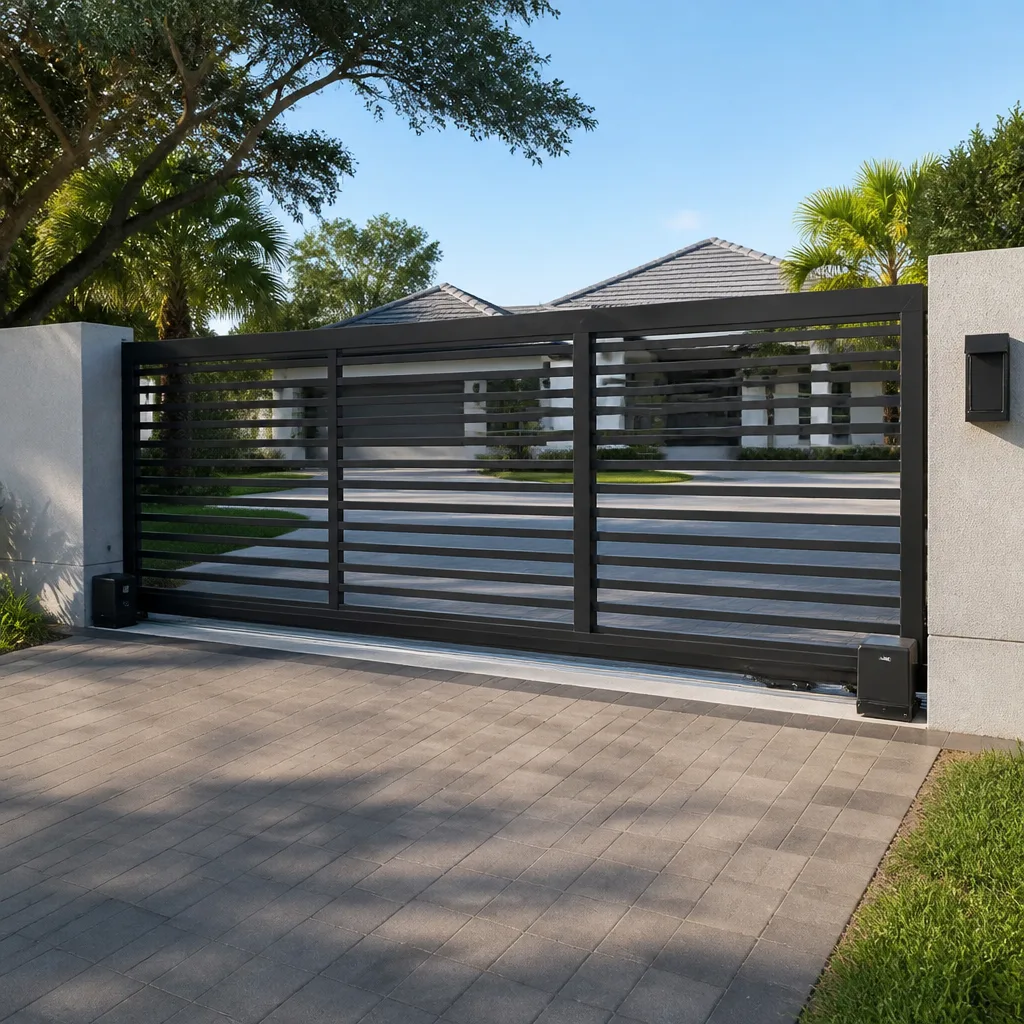 Sliding driveway gates
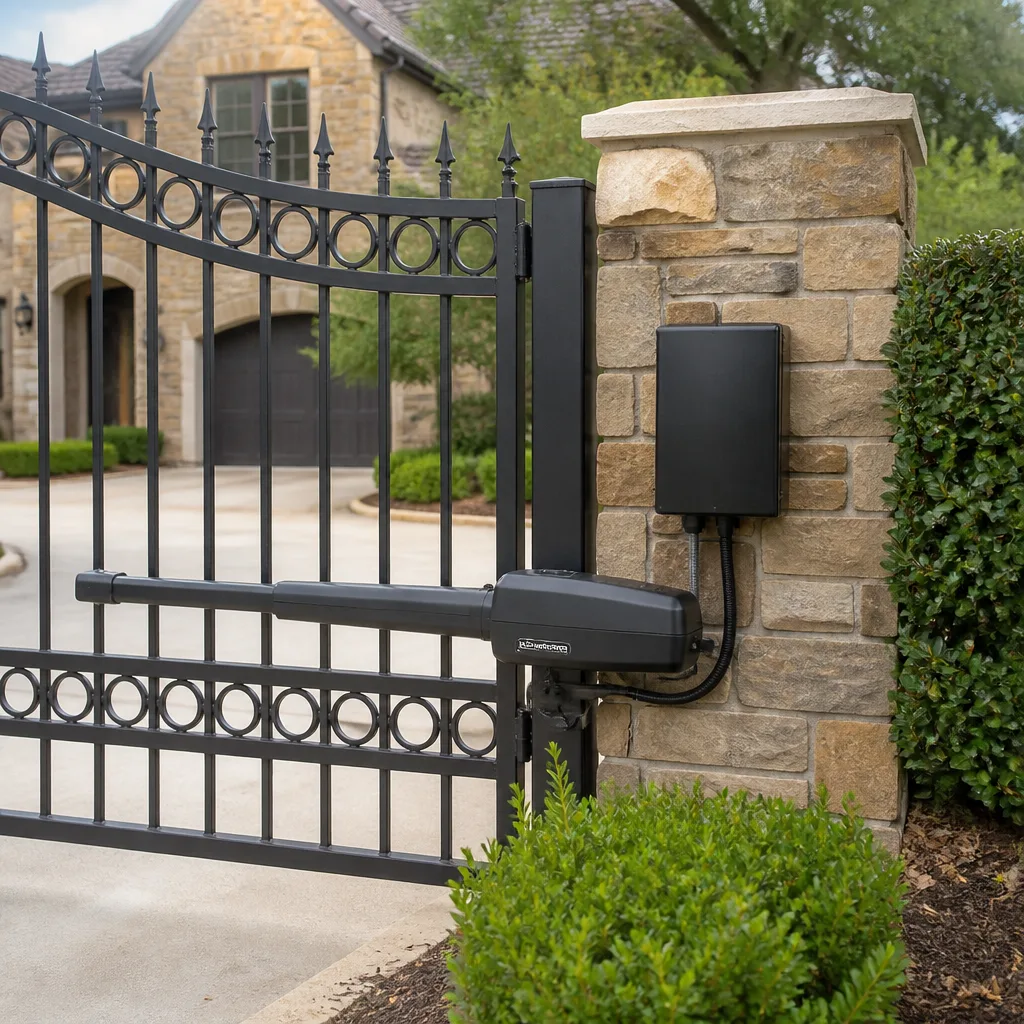 LiftMaster operators
Free on-site gate assessment - hinges, posts, and your LiftMaster or Nice gate operator checked before anything is quoted
The assessment is free and the quote is the invoice.
Get your free estimateDIY vs Professional Gate Repair: The San Jose Homeowner’s Decision Guide
Homeowners in San Jose call us after two very different weekends. One group spent Saturday morning lubricating hinges and tightening bolts, saved a service call, and feels great about it. The other group spent Saturday afternoon replacing a gate operator’s control board based on a YouTube video, blew the new board on first power-up because the wiring diagram didn’t match their vintage FAAC unit, and is now staring at a gate that won’t open at all. The difference between those two weekends isn’t skill level. It’s whether the repair was one where a mistake costs $40 or one where a mistake costs $1,200 and a city fine. This guide draws that line repair by repair, so you can make an informed call before you pick up a wrench. For Gate Repair services that require professional expertise, we’re here to help.
Styles & brands we work with
Quick Answer
For lubrication, hinge tightening, visual inspections, and basic surface cleaning, DIY gate maintenance in San Jose is reasonable and cost-effective. For anything involving the operator’s internal electronics, limit switches, safety sensors, spring tension, or gate arm replacement, hire a licensed professional. The dividing line is safety liability: UL 325 compliance and California premises liability law mean a DIY mistake on an automated gate can expose you to serious legal risk that no amount of saved labor cost justifies.
Table of Contents
- The DIY Safe Zone: What You Can Do This Weekend
- The Professional Zone: What Should Stay Off Your Workbench
- The Repair-by-Repair Decision Matrix: A Straightforward Breakdown
- The Hidden Cost of DIY Misdiagnosis: Replacing the Wrong Part
- UL 325, California Liability, and the Fine Print Most Homeowners Miss
- Semi-DIY: How to Do Real Work That Actually Reduces Your Bill
- How Prior DIY Attempts Affect Professional Repair and Your Guarantee
- What DIY Gate Repair Actually Costs in San Jose
- Common Mistakes to Avoid
- When to Call a Professional
- Frequently Asked Questions
- The Bottom Line
The DIY Safe Zone: What You Can Do This Weekend
Let’s start with what you can absolutely handle yourself. These tasks don’t require special tools, don’t touch safety circuits, and a mistake costs you time, not a trip to the emergency room or an insurance claim. In 17 years of working on gates across San Jose, from Almaden Valley to Berryessa and Evergreen to Willow Glen, we’ve never once been called to fix a gate that was damaged by too much hinge lubrication. We have been called to replace operators destroyed by water intrusion after a homeowner pressure-washed the control box open. There’s a real difference.
Here’s what belongs in the safe zone:
- Hinge and roller lubrication: Use a lithium-based grease on hinges and a silicone spray on rollers. Do this twice a year. San Jose’s dry summers and occasional rainy winters mean metal-on-metal contact gets noisy fast, especially on heavier steel driveway gates.
- Bolt tightening: Walk the gate with a socket set and check the posts, hinge bolts, and operator mounting brackets. Loose bolts cause the gate to sag, which puts extra load on the operator motor and shortens its life. Tightening what’s loose is legitimate DIY.
- Track cleaning (for slide gates): Leaves, decomposed granite, and small rocks collect in slide gate tracks. Every few weeks, clear the track. In San Jose’s fall, oak leaves from mature trees in the Rose Garden and Naglee Park neighborhoods pack into tracks and cause binding.
- Photo eye cleaning: The small lenses on the safety sensors get dusty. A soft cloth with mild cleaner is fine. This is a common reason a gate reverses or refuses to close, and cleaning the lens is a legitimate fix.
- Visual inspection: Once a month, look at the chain or belt tension, the limit switch housings, and the condition of the keypad or intercom faceplate. Document what you see. Photos help if you later need professional service.
These tasks do not require you to open the operator cover, touch any wiring, or adjust any setting. That’s the line. Once you’re under the cover, you’re in a different category, and we’ll get to why that matters.
The Professional Zone: What Should Stay Off Your Workbench
Here’s the honest truth from Dean Prescott, who has owned Portcullis Gate Repair San Jose since 2008: the repairs that look simple from the outside are often the most dangerous and the most expensive when they go wrong. The gate operator’s internal cavity contains line voltage, low voltage, and safety logic, often in the same box. A wrong wire placement can send 120 volts into a 24-volt control board. We’ve seen it. The homeowner couldn’t have known that the wiring diagram they found online was for a newer revision of the control board. Their gate was a 2007 model. The board they bought was for a 2014 model. Same brand, same basic look. Different pinout. The new board smoked on first power-up. The fix cost more than hiring us would have cost in the first place.
Keep these tasks in the professional column:
- Limit switch adjustment or replacement: Limit switches tell the operator when the gate is fully open or fully closed. Adjusting them incorrectly can cause the gate to overtravel, bend the gate frame, or crush an obstruction. This is exactly the kind of repair where the safety entrapment concern is real, not theoretical.
- Safety sensor alignment, wiring, or bypass: The photo eyes and the edge sensors are your UL 325 compliance. Bypassing them, even temporarily, is a liability decision. If a child, a pet, or a delivery driver is injured by a gate that should have reversed but didn’t, you’ve created the liability.
- Operator motor, gearbox, or actuator replacement: The actuator is the motorized arm that physically pushes a swing gate open. Swapping an actuator involves setting the stroke length, mid-travel stops, and limit configurations. Get it wrong and the gate can tear itself off its hinges.
- Spring tension and counterbalance work on vertical pivot or lift gates: A gate spring under tension stores dangerous energy. Releasing that tension without the right tools and technique causes serious injury. This is not a garage door torsion spring, but it carries the same warning.
- Control board wiring or replacement: The board’s terminal blocks carry specific voltages. Mixing line voltage and low voltage runs is a fire hazard and a sure way to destroy new components. This is where brand-specific training matters: Viking, Ghost Controls, Linear, DoorKing, each have different wiring conventions and revision histories.
- Gate post or hinge weld repair: A sagging gate is often the result of a failed weld at a hinge or a split post. This requires a mobile welder and the ability to re-square the gate before the weld sets. It’s a structural repair, not a hardware fix.
The pattern here? These are all repairs where getting it wrong creates either a safety hazard, a code violation, or a significantly larger repair bill than the original task. If a mistake costs you $40, go watch the YouTube video. If a mistake costs you $1,200 and a visit from a city code enforcement officer, call us instead. That’s the decision guide, in one paragraph. For Gate Repair Cost Breakdown: The San Jose Homeowner’s Reference for 2026, see our detailed pricing analysis.
The Repair-by-Repair Decision Matrix: A Straightforward Breakdown
This is the section to bookmark. The matrix below is built from what we see in San Jose specifically, where the mix of older and newer gates means a wide range of equipment is still in service. Some San Jose homes still run original 1990s gate operators, while others have newer smart-enabled systems. The matrix treats every common gate repair task as a simple decision: DIY or call.
Tasks where DIY is reasonable
- Squeaky hinges: DIY. Lubricate with white lithium grease. If the squeak persists after two applications, the hinge pin itself may be worn and you need a professional hinge replacement.
- Gate keypad codes not working: Refer to the owner’s manual for a factory reset. Many DoorKing keypads have a simple reset sequence that clears a single user code. If multiple keypads fail simultaneously, that points to a receiver board fault, which is a professional call.
- Remote control with dead battery: DIY. Replace the battery. If a fresh battery doesn’t restore function, the remote itself or the receiver board is at fault. Don’t buy a new remote until you know which one.
- Visible debris in a slide gate track: DIY. Clear it, then run the gate through a full cycle with the driveway clear. If the gate still binds, the issue is probably the carrier rollers or a bent track section, which is a professional repair.
- Photo eye lens dirty: DIY. Clean with a soft dry cloth. If the gate still reverses, the sensor alignment is off or the wiring has a fault. Professional adjustment needed.
Tasks where you should call a professional
- Gate only opens partway, then stops and reverses: The limit settings or the obstruction sensing is out of adjustment. This is a safety system and needs professional attention.
- Gate hums but doesn’t move: Could be a bad capacitor, a stripped gear, or a jammed chain. Requires opening the operator and testing components under load. Professional call.
- Gate opens or closes on its own: A receiver board or control board fault, or a short in the intercom wiring. This is a safety issue because an unexpectedly moving gate can trap someone. Professional call.
- Gate arm drops or won’t stay in position: The actuator’s internal limit mechanism has failed. This is a replacement job, not an adjustment job. Professional call.
- Gate post is leaning or the gate drags on the ground: A structural problem. The post needs to be reset in concrete or the hinge weld repaired. Professional call with a licensed contractor.
One more thing. San Jose’s climate does something specific to gate hardware. Our dry summers cause the grease in operator gearboxes to thicken and harden, and our occasional heavy winter rain finds its way into control boxes that have cracked gaskets. If your gate has been in service for more than a decade and has never had a professional inspection, call us or a similar gate repair company in San Jose before it fails dramatically. A $145 inspection is cheaper than a $1,400 operator replacement.
The Hidden Cost of DIY Misdiagnosis: Replacing the Wrong Part
Here’s a pattern we see regularly in San Jose, especially in neighborhoods with a lot of original gate installations from the early 2000s. A homeowner’s gate stops responding to the remote. The homeowner assumes the remote is dead, buys a new one for $60, programs it, and the gate still doesn’t respond. Then they assume the keypad is the problem, buy a replacement keypad for $120, install it, and the gate still doesn’t respond. At that point they call us, and we find that the receiver board inside the operator failed, which is a $380 repair. The homeowner has spent $180 on parts they didn’t need, plus a full weekend of their time, and they still had to pay the $380. The misdiagnosis tax is real, and it happens more often than most people think.
Why is this so common? Because the symptom is shared. A gate that won’t respond to a remote and a gate that won’t respond to anything both look the same from the driveway. The difference is inside the operator, where the receiver board, the control board, and the power supply all have diagnostic indicators that a trained tech can read in five minutes.
Here’s how to avoid this trap. Before you buy any replacement part, ask yourself one question: is this part the only possible explanation for the symptom? If the answer is no, don’t buy it. Here are the most common misdiagnoses we see:
- Buying a new remote when the receiver board is dead: The remote was never the problem. The receiver is. New remotes don’t fix dead receivers.
- Buying a new keypad when the power supply is failing: A keypad that works intermittently is often a symptom of low voltage from a failing transformer, not a keypad defect.
- Replacing the battery when the actuator motor is failing: A gate that moves slowly is usually not a battery issue. It’s a worn motor, a failing capacitor, or a mechanical bind. New batteries only work on solar backup systems, and even then, a slow gate after a battery replacement still points to the motor.
- Buying a new control board when the limit switch wiring is shorted: Limit switches are mechanical components that wear out and short. They cost a fraction of the board. If you jump past them with a board replacement, you’ll fry the new board.
In our experience, the cheapest professional gate diagnosis in San Jose costs less than the average DIY misdiagnosis. A service call where we test components, identify the fault, and give you a written price for the repair usually runs $85 to $145, depending on where in San Jose you are and whether we’re already in the area. That’s less than the $180 parts invoice from the example above, and you get a definitive answer instead of a hopeful guess.
UL 325, California Liability, and the Fine Print Most Homeowners Miss
Now we’re at the part of the guide most homeowners never see. It’s the part that actually determines whether DIY gate repair is financially wise, and it has nothing to do with whether the gate works afterward. It has to do with what happens if the gate hurts someone.
UL 325 is a safety standard that governs automatic gate operators. It was created after a series of tragic accidents, including the death of a child in 1990, and it has been updated several times since. The standard requires gate operators to have specific safety features: photo eyes that detect obstructions, edge sensors on the gate itself, and force settings that reverse the gate before it can crush anyone. In California, UL 325 compliance is not optional. A gate operator that does not meet UL 325 is not legally installed.
Here’s what that means for the DIY decision. If you install, modify, or repair an automated gate operator yourself, and that operator later injures someone because a safety feature was missing or misconfigured, you have created what insurance companies call an unapproved modification. Your homeowners insurance can deny the claim. The injured party can sue you directly. California premises liability law is clear on this point: property owners owe a duty of care to anyone legally on the property, and that duty extends to the safe operation of automated gates.
We’ll put it plainly. That limit switch adjustment you watched a video for? If you set the limits too wide, the gate overtravels and bends. If you set the force too high because the gate was sticking and you didn’t want to bother with the underlying issue, you’ve just told the gate to ignore obstructions. A gate that ignores obstructions is a gate that can trap a person. That is now your gate, with your modification, and your liability.
This is the single most important reason to call an electric gate repair professional in San Jose for operator work. We carry the liability because we’re trained, insured, and we do the work to the standard. You don’t want to carry it yourself. The liability cost of a single injury dwarfs the cost of a decade of professional gate repair.
Semi-DIY: How to Do Real Work That Actually Reduces Your Bill
There is a middle path. You don’t have to choose between being the person who lubricates hinges and the person who hires a professional for everything. There’s a set of preparatory tasks you can do before the tech arrives that genuinely reduces the billable time, and unlike the misdiagnosis trap, this prep work is valuable even when you don’t know exactly what’s wrong. This is what we call semi-DIY, and we encourage it.
Here’s what semi-DIY looks like in practice:
- Clear the work area. Move vehicles, trash bins, and potted plants away from both sides of the gate. If the technician has to spend 15 minutes moving your stuff before they can open the operator cover, that’s 15 minutes of billable time that you could have saved by clearing the area the night before.
- Document the symptoms. Write down exactly what the gate does and when it does it. “The gate stops halfway and reverses when the temperature is below 50 degrees” is more useful than “it’s broken.” Take notes over two or three days. Look for patterns: does it fail in the morning but not the afternoon? Only after rain? Only when the remote is in a certain pocket of the driveway?
- Photograph the existing wiring. Before the tech arrives, take clear photos of the operator model number, the control board, and the wiring connections. Do not touch the wiring. Just photograph it. Those photos are helpful even if the tech takes their own.
- Gather the history. How old is the gate? Has it had previous repairs? Did a previous homeowner install the operator? If you have invoices or notes from previous work, put them together. A Gate Repair San Jose tech who knows the repair history can often diagnose faster.
- Check the breaker. This is basic but often skipped. Confirm the gate’s breaker is on and has not tripped. If it’s a GFCI breaker and it trips repeatedly, that’s a symptom in itself. Document it.
This prep work doesn’t require you to touch a single wire or open a single cover. It’s information gathering and access clearing. It saves the tech time, and time is what you pay for. On a complex diagnostic call, an organized homeowner who has documented the symptoms and cleared the area can easily save $50 to $100 in labor. That’s real money for work you did with a notebook and a camera phone.
How Prior DIY Attempts Affect Professional Repair and Your Guarantee
If you’ve already attempted a DIY repair and it didn’t work, you might be worried about calling a professional. Can the tech tell? Will it void the guarantee? Do you have to confess? Let’s answer those directly.
First: yes, we can tell. A control board cover with stripped screw heads, wiring dressed differently than factory spec, zip ties in places the manufacturer doesn’t put zip ties, an actuator with fresh socket marks on the mounting bolts. It’s all visible. Second: no, a prior DIY attempt does not void our Kingswell Guarantee. We do not penalize homeowners for trying. What we ask for is disclosure, not confession. Here’s why disclosure makes the repair better, not worse.
When a homeowner tells us upfront what they attempted, we know what’s been changed from factory spec. We know that a particular wire may have been moved, that a particular limit setting may be off, that a particular connector may be damaged. We can check those things first instead of discovering them mid-diagnosis. Concealment, even unintentional, leads to longer diagnostic time because we’re working from the assumption that the gate is as the factory left it, and then finding surprises that don’t match the diagram. Disclosure leads to better outcomes.
Here’s what you should tell us, or any professional, when you call:
- Exactly what you attempted (e.g., “I replaced the remote battery” or “I tried to adjust the limit switches”).
- What the gate did immediately after your attempt (e.g., “it worked for two days, then stopped again” or “it started reversing immediately after I made the adjustment”).
- What parts, if any, you purchased and whether you installed them.
- Whether you opened the operator cover and whether you touched any wiring.
This information is a courtesy to the technician and a cost-saver for you. It doesn’t affect the guarantee. Every Portcullis Gate Repair San Jose job still carries the same 365-Day Done Right Promise: a written guarantee on the repair, and if the repair fails within that period, we come back and fix it at no charge. For more guides & resources on gate care, visit our blog. That’s the Kingswell Guarantee, and it applies whether you tried it yourself first or not.
If you’re starting from scratch and want to avoid the DIY-versus-professional dilemma entirely, a new gate installation in San Jose from a Kingswell company includes the same written guarantee and the same upfront pricing. It’s often the cleanest starting point when a gate has accumulated years of partial fixes.
What DIY Gate Repair Actually Costs in San Jose
Let’s put real numbers on this. The table below reflects what we see across San Jose’s gate repair market, from the flat lots of West San Jose to the hillside properties in Silver Creek and the East Foothills. These are the prices a homeowner can expect to pay for the most common gate repairs, and the equivalent cost of a botched DIY attempt.
- Hinge lubrication (DIY): $8 for a tube of white lithium grease. Time: 20 minutes. Risk: none. DIY score: make sense.
- Photo eye cleaning (DIY): $0 if you have a clean cloth. Time: 5 minutes. Risk: none. DIY score: make sense.
- Remote battery replacement (DIY): $4 for two CR2032 batteries. Time: 10 minutes. Risk: none. DIY score: make sense.
- Gate operator replacement (professional): $1,200 to $2,800 for a typical single swing gate operator, parts and labor, depending on the brand, gate weight, and site conditions. DIY equivalent: $600 to $1,500 for the operator alone, plus the cost of any brand-specific programming tools, plus your time, plus the liability we covered earlier.
- Limit switch adjustment (professional): $125 to $225. DIY equivalent: free, until the gate overtravels and bends the frame, which costs $900 to $2,400 to repair.
- Safety sensor replacement (professional): $180 to $350 per sensor pair. DIY equivalent: $60 to $120 for the sensors, plus the risk of miswiring the operator board, which costs $380 to $700 to replace.
- Actuator swap (professional): $450 to $950 for most swing-gate actuators, including setting the stroke and limits. DIY equivalent: $250 to $500 for the actuator, plus the cost of any wiring adapters, plus the risk of mounting it incorrectly and stripping the gate hinge or bending the gate leaf.
The pattern is consistent. The DIY cost is lower only when the task is a surface-level lubrication or cleaning task. The moment the task involves the operator internals, the safety systems, or the structural hardware, the risk-adjusted cost of DIY exceeds the professional price. And this is before you factor in the value of your weekend.
One specific number for San Jose homeowners. The City of San Jose requires permit approval for new automated gate installations that project into a public right-of-way. If your gate is set back from the sidewalk and stays on your property, the permit situation is more lenient, but any gate that extends over a sidewalk or into the parkway is regulated. A professional who works in San Jose regularly knows the local permitting environment for your specific neighborhood. That’s a knowledge cost that is hard to quantify but real.
Common Mistakes to Avoid
- Bypassing the safety sensors to make the gate work “for now”: This is the single most dangerous DIY decision in gate repair. You have removed the entrapment protection that UL 325 requires. If the gate hurts someone while the sensors are bypassed, the insurance claim will be denied, and in California, the liability is yours personally.
- Using WD-40 on gate hinges and rollers: WD-40 is a solvent and water displacer, not a lubricant. It washes out the existing grease and leaves the metal dry. Use white lithium grease on hinges and silicone spray on rollers. We see this mistake weekly in San Jose.
- Pressure-washing the operator or control box: Gate operators are rated for weather resistance, not direct water spray. Pressure washing forces water past the gaskets and into the control board. We replace a surprising number of operators in San Jose because of this.
- Adjusting the force setting to “fix” a binding gate: If the gate is sticking and you turn up the force instead of fixing the binding, you have created an unsafe condition and hidden the underlying problem. The gate will eventually fail more dramatically because the bind is still there.
- Buying a used operator or board from an online marketplace: We’ve seen homeowners buy used DoorKing and Linear operators that were pulled from commercial properties, only to find they’re missing the safety interface harness or are configured for a different voltage. The return window closes, and the money is gone.
- Not checking the gate’s breaker before calling a technician: It seems obvious, but about one in twenty service calls we get in San Jose is a tripped GFCI breaker. Check the breaker before you call. But if it trips repeatedly, that’s a real symptom to report.
- Tightening the gate chain without checking the sprocket alignment: An overtightened chain on a slide gate wears the sprockets and the motor bearings faster. There’s a spec for chain tension, and it’s looser than most people assume. If you don’t know the spec, don’t tighten the chain.
When to Call a Professional
Call a professional the moment the repair involves the operator’s internals, the safety sensors, the limit switches, the actuator, the springs, or the structural posts. Call a professional when the gate is behaving dangerously: reversing mid-cycle, failing to stop at the limits, opening on its own, or making grinding noises. Call a professional when you’ve already tried a DIY fix and the symptom is unchanged or worse. And call a professional when the gate is part of a rental property, an HOA, or any situation where you have a legal duty to others beyond your own household. Portcullis Gate Repair San Jose offers free estimates in San Jose, and every job includes a written price before any work starts, so there’s no downside to getting a professional assessment. Call (669) 800-5686.
Frequently Asked Questions
Most common gate repairs in San Jose run between $125 and $950, with operator replacements at the higher end of the range. A service call for diagnosis typically costs $85 to $145. Every Portcullis Gate Repair San Jose job includes a written price before any work starts, so you know the total before a single bolt is turned. Call (669) 800-5686 for a free estimate.
Opening the operator cover and working on the wiring, limit switches, or control board is not a recommended DIY task. The operator contains line voltage and safety circuits, and a mistake can damage the board, create a fire hazard, or disable the entrapment protection that UL 325 requires. In California, a gate that injures someone because of an improper repair creates personal liability for the homeowner. Hire a professional for operator work.
Adjusting the limit switches without understanding the safety entrapment implications. Homeowners see a YouTube video showing a screw turn and think it’s simple. It looks simple, but the limit switches also govern the gate’s stopping position and its relationship to the safety edges. An incorrect setting can allow the gate to overtravel or to close on an obstruction without reversing. This is the single most common mistake we see in San Jose.
In most cases, yes, the manufacturer’s warranty is voided by unauthorized service. The operator warranty from brands like Linear, Viking, Ghost Controls, and DoorKing requires installation and service by a qualified technician. Your homeowner’s insurance may also treat unapproved modifications as excluded from coverage. However, a prior DIY attempt does not void the Kingswell Guarantee on our repairs. We’ll fix it properly and back the repair with our 365-Day Done Right Promise.
We service nine major gate-operator brands: LiftMaster, FAAC, BFT, Linear, Viking, Ghost Controls, DoorKing, and Elite. Our technicians arrive with brand-specific knowledge, so they can diagnose and repair your specific system rather than learning it on your dime. Whether you have a Viking operator in Almaden or a Linear system in Evergreen, the tech who shows up knows the equipment.
It depends on the condition of the gate structure and the operator. If the gate itself is square, the posts are solid, and the operator is less than 15 years old, a professional repair is usually the better value. If the gate is rusted, the posts are failing, or the operator has had multiple repairs in the last few years, replacement often makes more financial sense. A Portcullis Gate Repair San Jose home visit includes an honest assessment of repair versus replacement with written pricing for both.
The Bottom Line
The DIY versus professional question is not a test of your competence. It’s a test of the risk category the repair falls into. Lubricating hinges, cleaning photo eyes, tightening bolts, and clearing slide-gate tracks are reasonable DIY tasks in San Jose. Everything else from limit switches to safety sensors to actuator swaps belongs with a professional who is trained on the specific equipment, carries insurance, and writes a guarantee. The Kingswell 365-Day Done Right Promise exists because we know a repair that fails within a year should be fixed at no charge, and that’s a promise you can’t write yourself. If you’re unsure which side of the line your specific problem falls on, call (669) 800-5686. We’ll tell you honestly, and if it’s a DIY job, we’ll tell you that too.
Written by Dean Prescott, Owner at Portcullis Gate Repair San Jose, serving San Jose since 2008.
See the difference
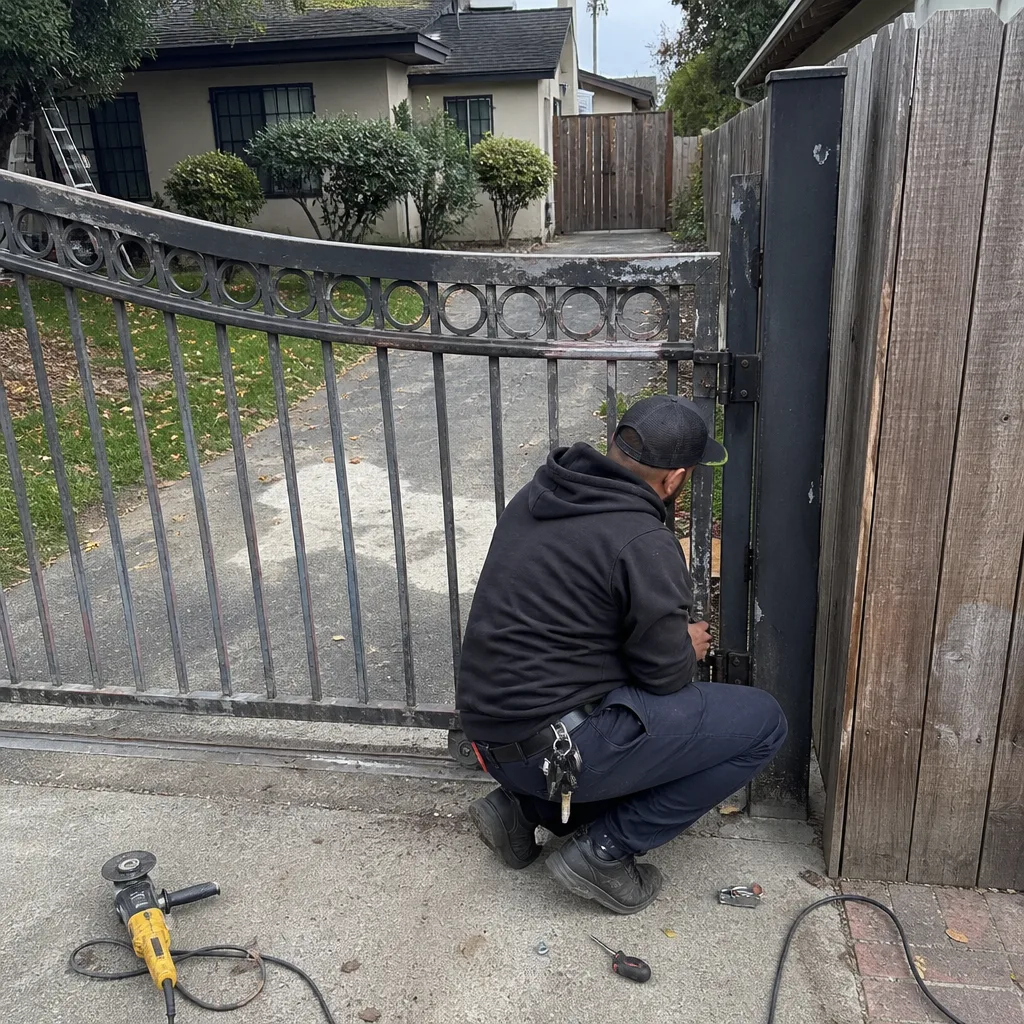 Before
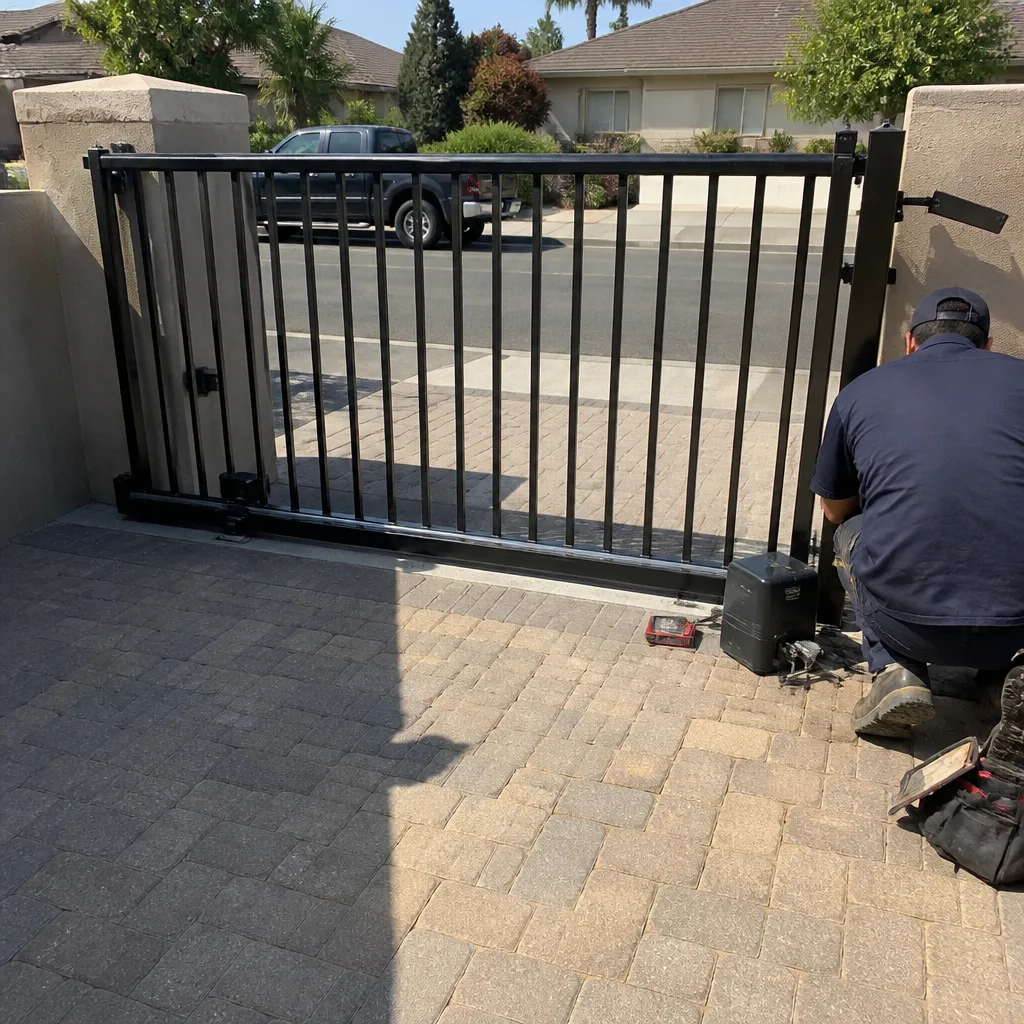 After
After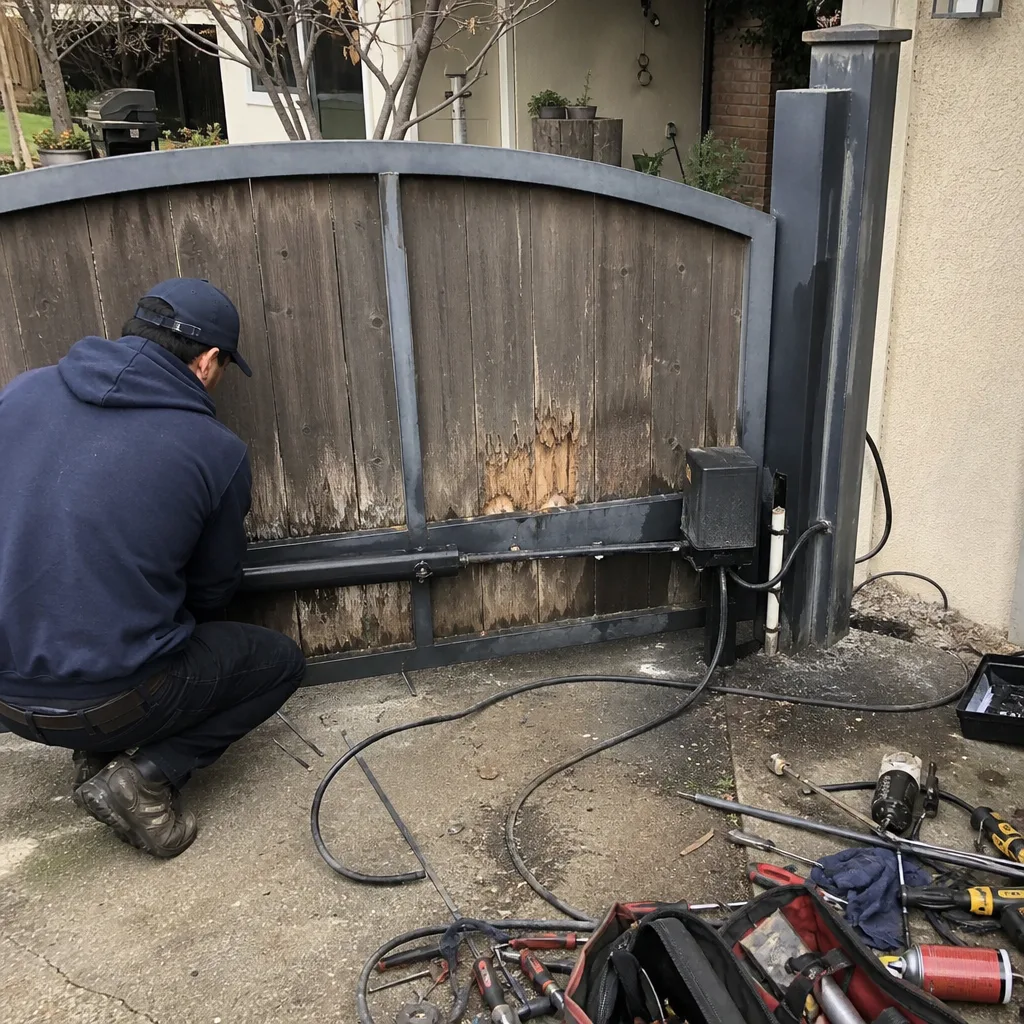 Before
 After
After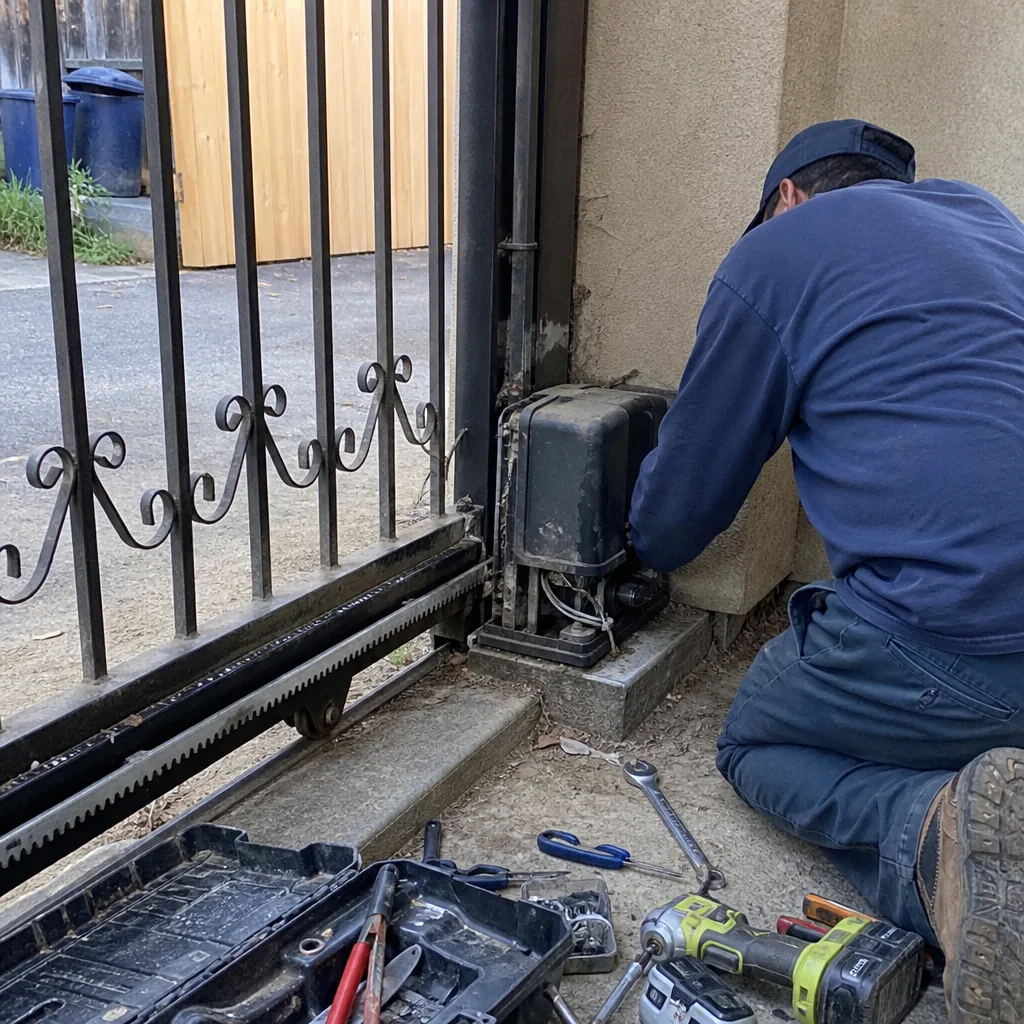 Before
 After
After