
Last updated October 16, 2026
 Wrought iron
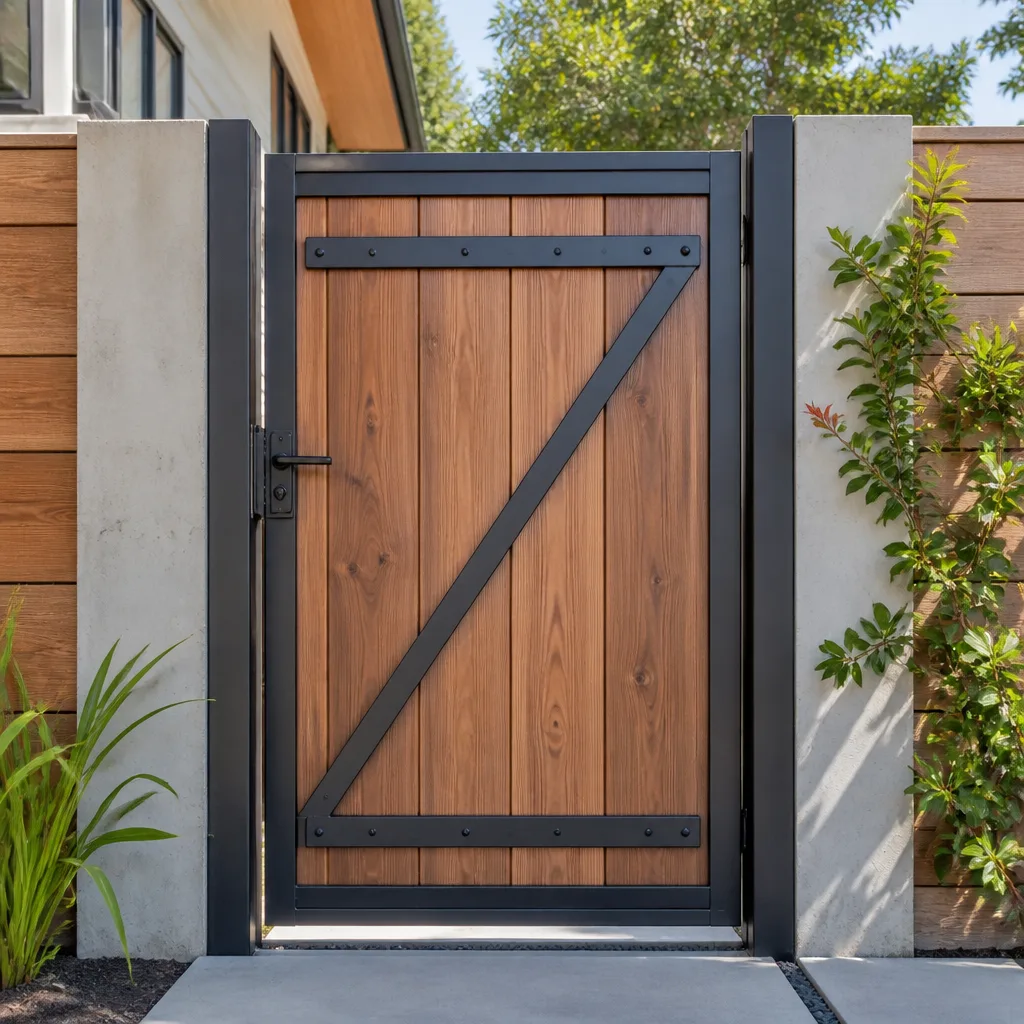 Wood & steel frame
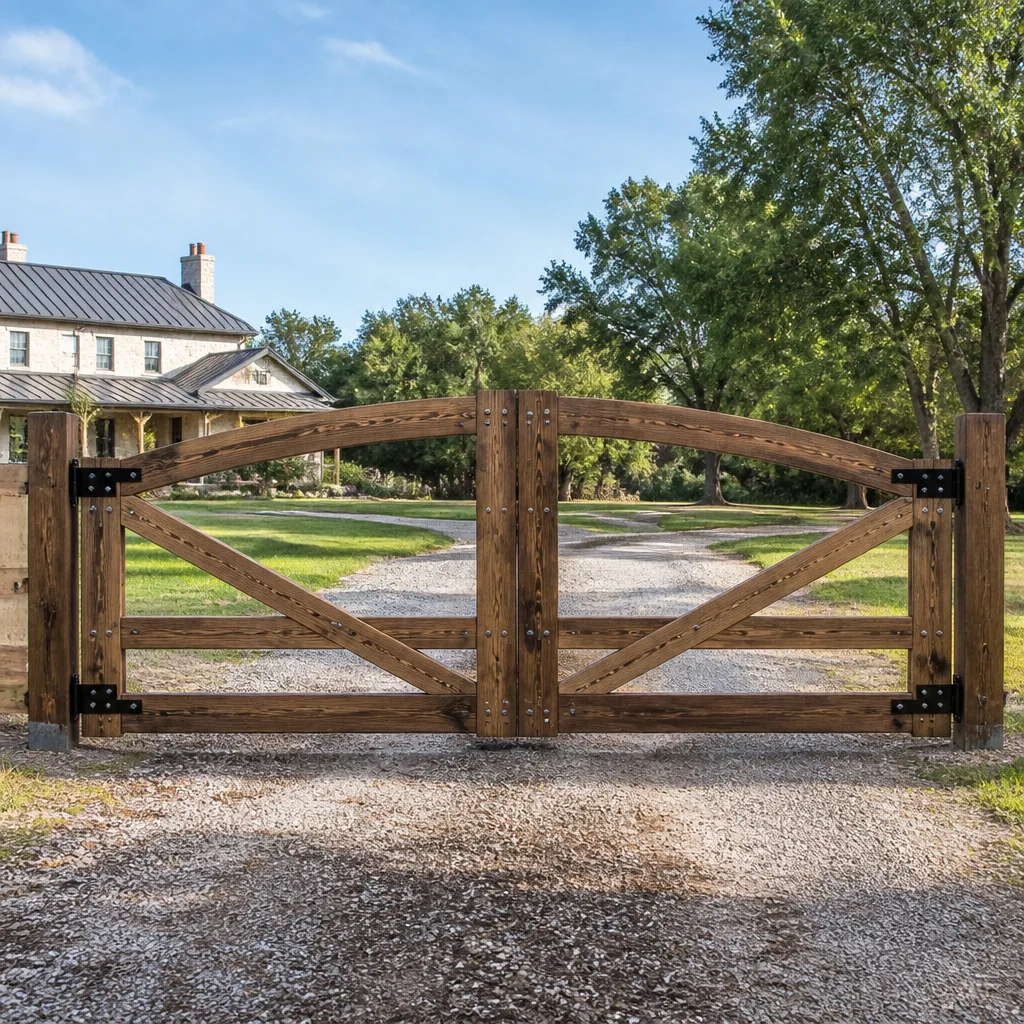 Farm & ranch
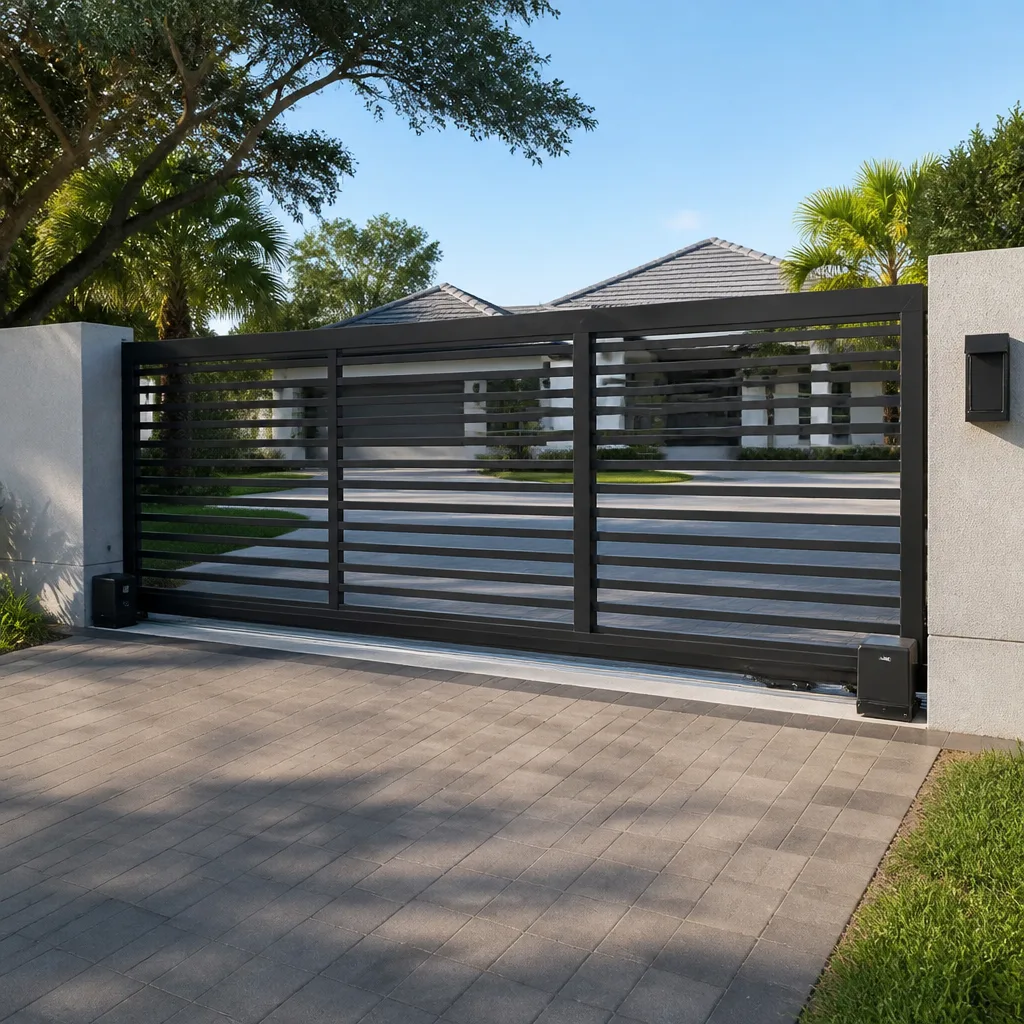 Sliding driveway gates
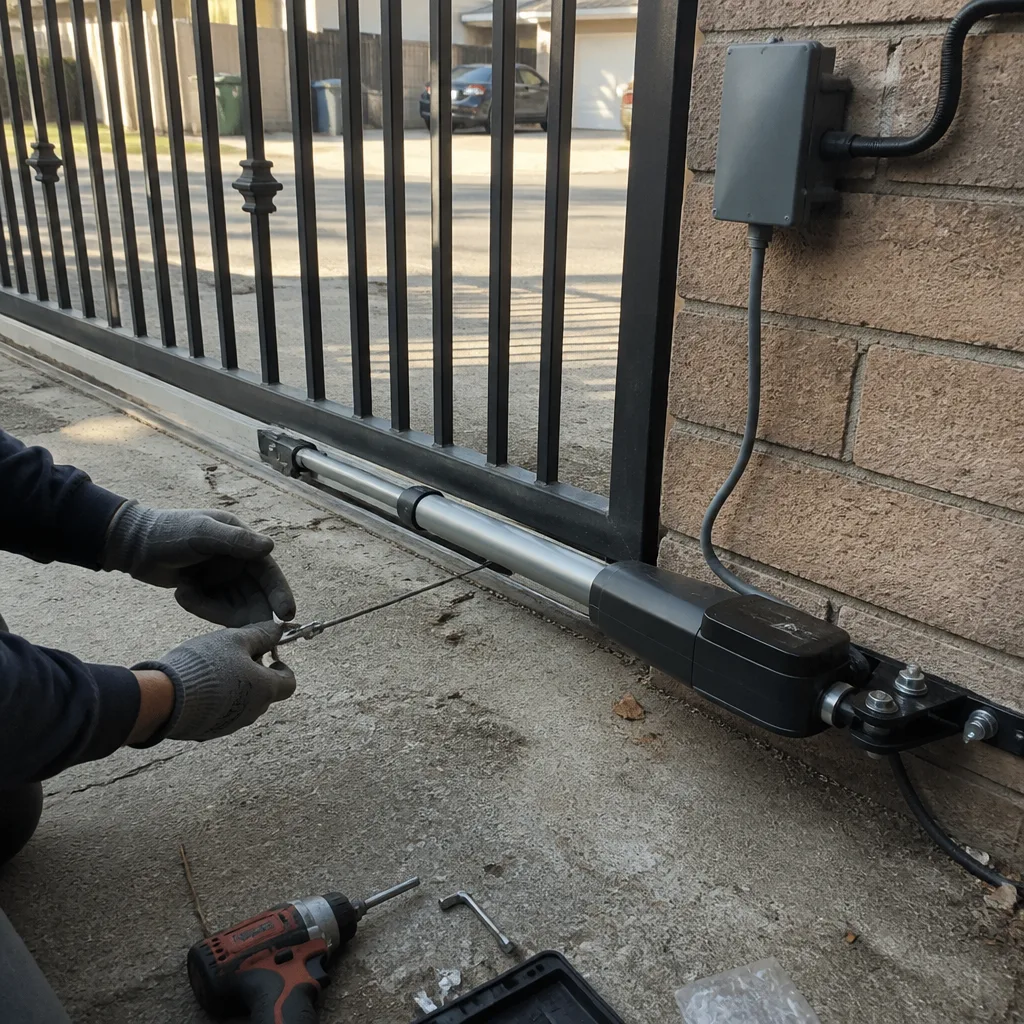
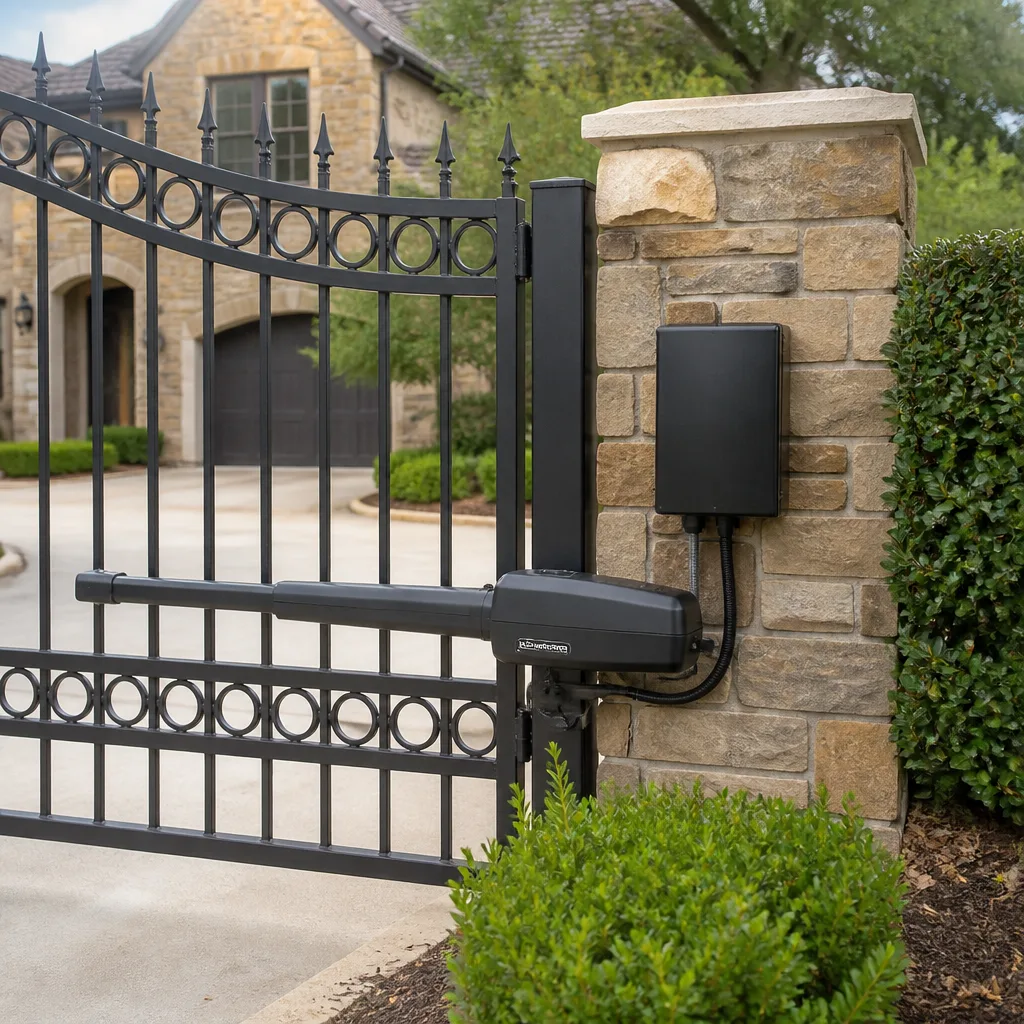 LiftMaster operators
Free on-site gate assessment - hinges, posts, and your LiftMaster or Nice gate operator checked before anything is quoted
The assessment is free and the quote is the invoice.
Get your free estimateGate Repair Maintenance Checklist for San Jose Homeowners
The hinge bolt that causes a $600 frame realignment job costs $4 to tighten if you catch it six months earlier. The difference between those two outcomes is knowing where to look, and most published gate maintenance checklists skip the early-warning observations that would save San Jose homeowners a $400 service call. This checklist is built around what you can find with your eyes, ears, and a tape measure, not tools you don’t own. By the time you finish reading, you’ll know what a healthy gate sounds like in Almaden Valley, how Berryessa’s dry heat changes your lubrication schedule, and which three pass/fail measurements tell you whether to grab a wrench or pick up the phone.
Styles & brands we work with
Quick Answer
A San Jose gate maintenance checklist comes down to noticing five things before they become invoices: hinge sag at the latch post, the pitch of the motor under load, debris buildup in the track, battery voltage on solar-assisted operators, and rust or corrosion at the weld points. Run through these observations twice a year, keep a 60-second photo log on your phone, and you’ll catch most failures at the $4 bolt-tightening stage instead of the $600 realignment stage. For anything that fails a pass/fail threshold listed below, gate repair in San Jose starts with a written quote, so you know the number before any work begins.
Table of Contents
- The Observation-First Checklist: Why Your Eyes and Ears Beat a Wrench
- The 60-Second Photo Log: Documentation That Makes Repairs Faster and Cheaper
- What a Healthy Gate Sounds Like: Early Bearing and Hinge Wear in San Jose
- San Jose Microclimates: Lubrication Schedules for Willow Glen, Berryessa, and Beyond
- Battery Backup Voltage Checks for Solar-Assisted Operators
- Pass/Fail Thresholds: The Exact Numbers That Tell You to Call Before Lubricating
- A Seasonal Maintenance Calendar for San Jose Gates
- Common Mistakes to Avoid
- When to Call a Professional
- Frequently Asked Questions
- The Bottom Line
The Observation-First Checklist: Why Your Eyes and Ears Beat a Wrench
Most gate maintenance checklists read like a hardware store shopping list: lubricate this, tighten that, replace these. The problem is that by the time you’re reaching for a tube of lithium grease, you may have already missed the signal that matters. A gate that needs lubrication doesn’t need a checklist. A gate that’s about to need a new operator, a new hinge, or a new section of track is the one worth catching.
We’ve built this checklist around observations because observation is where the real savings live. Tightening a hinge bolt is a two-minute job. Replacing a hinge pin that wore itself into an oval shape over eighteen months of neglect is a two-hour job with a parts order attached. The trick is walking the gate line with a set of eyes and ears tuned to what normal looks like, then comparing what you’re seeing today against what you saw last season.
Here’s the observation-first framework in five passes, each one built around a sense you already own:
- Pass 1: Sight. Walk the full gate line from post to post. Look for rust bloom at weld points, cracked concrete at the post bases, and daylight where the gate frame meets the latch. Notice whether the gate is square in its opening or listing to one side.
- Pass 2: Sound. Run the gate through a full open-close cycle and listen. A healthy gate hums. A gate with a dry bearing chirps. A gate with a failing operator capacitor groans before it moves. These sounds are ordered by severity, and the order matters.
- Pass 3: Touch. With the gate closed, push against the latch side. A well-set gate resists movement almost immediately. A gate that shifts a half-inch in its hinges before biting has a problem starting.
- Pass 4: Measure. A tape measure turns vague impressions into pass/fail numbers. Measure the gap at the top and bottom of the latch side, the deflection at the middle of the gate, and the drop at the free end. We’ll give you the exact numbers in a minute.
- Pass 5: Document. Snap five photos from the same five angles every season. That’s the 60-second photo log, and it’s the cheapest diagnostic tool you own.
This five-pass loop is the backbone of every recommendation that follows. Run it twice a year in San Jose, in spring before the dry heat settles in and in fall before the rainy season returns, and you’ll catch virtually every failure at the observation stage.
The 60-Second Photo Log: Documentation That Makes Repairs Faster and Cheaper
A photo log is not a scrapbook. It’s a diagnostic baseline, the same way a doctor keeps a baseline EKG before looking for changes. When we show up to diagnose a gate problem, the single most useful thing a San Jose homeowner can hand us is six months of photos showing how the gate looked before it started acting up. The photos tell us what changed, and what changed tells us where to look.
The log takes sixty seconds per season. Do it on the same day you change your smoke detector batteries and it becomes a routine rather than a chore.
How to build your log
- Stand at the same five positions every time. Directly in front of the gate, looking down both sides of the track, at the hinge side from two steps back, at the latch side from two steps back, and one low-angle shot across the bottom rail.
- Use the same camera, the same zoom, the same distance. Consistency is what makes the comparison useful. Eighteen inches closer or farther changes the apparent gap size enough to make a real difference hard to see.
- Capture the four early-warning zones specifically. The weld points where the pickets meet the bottom rail, the area where the track disappears into the ground, the battery housing on solar-assisted operators, and the hinge-to-post connection.
- Name the files with the date. If you don’t do this, gathering them up months later becomes a slow process of guessing.
- Save the last three sets. You don’t need a running archive back to 2019. Three seasons of baseline covers almost any comparison a repair diagnosis needs.
What makes this practice save money is remarkably simple. When a hinge has shifted, a photo comparison shows us the starting point, the direction, and roughly the rate of drift. That’s often enough to decide whether this repair is a six-month problem that can wait or a six-week problem that should not. Without the baseline, we’re guessing. With it, we’re measuring. And measuring produces smaller repair scopes, because we can fix the exact point of failure rather than replacing the assembly around it. Any gate repair in San Jose we quote starts from what we can see, and your photo log expands what we can see.
What a Healthy Gate Sounds Like: Early Bearing and Hinge Wear in San Jose
Sound is the earliest and most reliable warning system a gate has, because a gate that’s about to fail talks before it breaks. The trouble is that most San Jose homeowners have never heard a healthy gate run. If you’ve lived with the same gate for eight years, its current sound is your definition of normal, even if that sound changed gradually enough to escape notice.
So let’s define the baseline. A healthy automatic gate, whether it’s a swing gate on a Mighty Mule actuator or a slide gate on a LiftMaster operator, makes one continuous, low-pitched hum through its entire travel. No pauses, no pitch changes, no clicks. The hum is the motor doing smooth work. Any sound laid on top of that hum is a voice worth listening to.
- A chirp or squeak that repeats with the gate’s rhythm is almost always a dry bearing or a hinge pin starving for lubrication. It’s the cheapest problem on this list, and the one most likely to become expensive if ignored. Run the gate, listen for the squeak, and note whether it’s on the hinge side of each movement or the latch side.
- A groan on startup, like the motor is lifting something heavy before the gate begins moving, is the sound of a failing capacitor in the operator, especially on older FAAC and BFT units. The motor is trying to start against full mechanical resistance. This sound usually appears weeks or months before total failure.
- A click-click-click during travel on a slide gate is the chain or rack telling you it has slack. On a swing gate, the same rhythm is often a loosening hinge bolt tapping against the post under load. Both are five-dollar fixes today. Both are several-hundred-dollar fixes in a year.
- A grinding sound from the operator housing is the most serious noise on this list. On a slide gate it means the drive gear is eating the rack, usually because the two have fallen out of alignment. On a swing gate it can mean a gearbox running dry. This is a stop-and-call-now sound.
One San Jose-specific note: wind amplifies gate sounds. A gate that sounds perfect on a still morning may chirp on a breezy March afternoon when the gusts load the hinges unevenly. If you’re trying to track down a noise, run the gate on a calm day first to rule out wind-as-catalyst before assuming bearing wear.
If you’re hearing a noise you can’t place, the fastest way to identify it is to film ten seconds of the gate running with your phone and send the clip to a professional. In our experience, about half of “strange noise” calls are solved by the clip before anyone gets in a truck. Electric gate repair in San Jose starts with that question: what does it sound like?
San Jose Microclimates: Lubrication Schedules for Willow Glen, Berryessa, and Beyond
San Jose is not one climate. It’s five or six of them stacked on top of each other, and each one pulls a gate in a different direction. The difference between a lubrication schedule that works and one that doesn’t is usually the difference between the neighborhoods the schedule was written for and the one the gate actually lives in.
Willow Glen and Almaden Valley sit under a heavy tree canopy, and that canopy is the dominant variable. Morning condensation collects on metal surfaces and dries slowly in the shade. The result is a thin, persistent film of moisture that accelerates surface rust on unprotected steel. Gates in these neighborhoods need hinge and bearing lubrication every five to six months, not because the lubrication breaks down faster, but because moisture intrusion dilutes it at the metal surface and rust starts forming underneath it.
Berryessa and the Evergreen foothills are a different problem. The dry heat that sits over the East Side through summer bakes lubricants until they thin and weep out of the hinge. A gate in Berryessa that was lubricated in April may be bone-dry by September. The tell is a gate that runs quietly in the morning and chirps by midafternoon, when the metal has had a full day of heat expansion. If you live east of 101, plan on checking your gate’s lubrication every four months during the dry season.
What about the rest of San Jose, downtown, Japantown, the West Side? Those neighborhoods sit in a middle band where the two problems trade off through the year: condensation through a wet winter, heat through a dry summer. The sensible schedule for a standard residential gate in that band is twice a year, once in April and once in October.
Here’s the schedule by zone:
- Willow Glen, Almaden Valley, Cambrian: lubricate in April and October, plus a midwinter check after heavy rain. The tree canopy keeps condensation active through January.
- Berryessa, Evergreen, East Foothills: lubricate in March, July, and November. The summer heat is the real enemy here, and a mid-summer check matters.
- Downtown, Japantown, Rose Garden, West San Jose: twice a year, April and October, matching the seasonal transition.
- Hillside properties anywhere in San Jose: add a check after any rain event over one inch. Hillside drainage runs through gate tracks, and silt carries in faster than you might think.
As for what to use, a white lithium grease is the right all-purpose choice for hinge pins and roller bearings. It resists both water and heat reasonably well, and it’s available at any San Jose hardware store. Avoid spray-on vegetable-based lubricants for anything except freeing a rusted latch; they’re too thin to last a season and they attract dust.
Battery Backup Voltage Checks for Solar-Assisted Operators
The newest wave of residential gate automation in San Jose HOA communities and hillside neighborhoods runs on solar-assisted operators with battery backup. These systems, common on Mighty Mule and Ghost Controls units, are entirely different animals from the wired operators they’re replacing, and the maintenance model is different too.
A wired operator gets its power from the grid. A solar-assisted operator gets its power from a panel that charges a battery, and the gate runs off that battery day and night. The panel only matters during charging hours. The battery is the whole game the rest of the time. When the battery degrades past a certain point, the gate doesn’t fail mechanically, it fails electrically: sluggish travel, partial opens, or limp-latch behavior at the end of a cloudy stretch.
The cheapest way to catch battery degradation early is a simple voltage check every three months. You don’t need a battery tester; a basic multimeter from any hardware store does it, and the batteries are usually accessible through a panel on the operator housing.
What to check
- Locate the battery terminals. They’re behind the same access panel as the control board on most Mighty Mule, Ghost Controls, and FAAC solar-capable units. If you’re unsure, the operator’s manual has a diagram.
- Set your multimeter to DC voltage. A 12-volt system should read between 12.6 and 13.8 volts at rest on a sunny afternoon after the panel has been charging all day.
- Check the resting voltage, not the charging voltage. The reading you want is the battery’s resting state, measured first thing in the morning before the panel kicks in, or after the gate has been disconnected from the panel for an hour.
- Compare against the low-water mark. Anything below 12.2 volts at rest means the battery is starting to lose capacity. Below 11.8 means it’s on borrowed time.
- Test under load. Run the gate and watch the voltage. A healthy battery dips slightly and recovers. A failing battery’s voltage drops sharply while the gate moves and recovers slowly, if at all.
San Jose’s sunny climate is a help and a hazard here. The same long summer days that charge your battery well also cook it faster than the cool coastal air would. A battery that would last five years in Monterey may give you three and a half in Berryessa. Some solar-assisted operators also shut down during PG&E scheduled outages and brownout events, so keeping the battery topped up matters more through the fall wildfire season.
The other failure mode people miss is panel position. The same wind that rattles a gate through March can twist a solar panel a few degrees off-axis, and a fifteen-degree misalignment costs half the daily charging capacity. If you’re seeing battery voltage drop through spring despite a healthy battery, look at where the panel is pointing before you blame the battery.
Pass/Fail Thresholds: The Exact Numbers That Tell You to Call Before Lubricating
Lubricating a gate with a failing hinge is like changing the oil in a car with a cracked block. It feels productive, but it’s not addressing the actual problem. The reason most maintenance checklists skip this section is that they don’t want to give you a number that might cause a service call. We will, because the numbers are the whole point. When you know what “too much” looks like, you stop guessing and start measuring.
Here are the pass/fail thresholds for a standard residential swing gate, measured with a tape measure in a few minutes:
- Sag at the latch post: pass if under 3/8 inch. Close the gate and measure the gap between the latch and the strike plate at the top and bottom of the latch. If the top gap and bottom gap differ by more than 3/8 inch, the gate is sagging. Do not lubricate the hinges and call it done; the hinge assembly needs adjustment or replacement. A sagging gate that gets lubricated just sags more quietly.
- Drop at the free end: pass if under 1/2 inch. This is the same measurement as above, but taken at the free end of the gate relative to the post it closes against. A swing gate that drops 1/2 inch at the latch is about to start dragging on the ground or binding on the latch.
- Inward/outward play at the latch post: pass if under 1/4 inch. With the gate closed, push the free end toward and away from the property. If the latch side moves more than a quarter-inch before the hinges resist, you have worn hinge bushings or a loosening hinge bolt.
- Track deflection on a slide gate: pass if under 1/4 inch over any 4-foot section. Run your hand along the top of the track and look for flat spots or waves. Slide gate track that has deflected more than a quarter-inch causes the gate to grind against its own rollers at certain points in the travel. This is not fixable with lubrication; the track needs to be reset.
- Gate travel time deviation: pass if within 5% of the original close time. Time the gate on a day when it’s running normally and write that number down. If the close cycle takes more than 5% longer three months later, the operator is working against added resistance. That resistance is almost always mechanical, and it’s usually a failing roller, hinge, or gear train, not a motor problem.
Here’s the rule we use when we look at a gate: if it fails a measurement, don’t lubricate it. Lubrication is a maintenance action. A gate that has already sagged, dropped, or deflected beyond these thresholds is past maintenance. It’s in the repair column now, and the right move is to get it measured properly before the damage spreads from the hinge into the frame.
A Seasonal Maintenance Calendar for San Jose Gates
San Jose doesn’t have a maintenance season; it has a maintenance rhythm. The weather patterns that matter here aren’t snow and subzero cold. They’re the long dry months that bake lubricant out of metal, followed by the first atmospheric river of November that swells wood, shifts soil, and pushes every marginally-set post a little further out of true.
Gate maintenance in San Jose follows a two-peak schedule, and most of the year’s work is concentrated in the weeks around those peaks.
April: The Dry Season Reset
- Full observation pass. Run all five passes from the checklist: sight, sound, touch, measure, document. This is the benchmark pass.
- Lubricate every hinge pin and roller bearing. A white lithium grease applied to the hinge pins and the bearing surfaces of the rollers. Wipe off the excess. Excess grease is a dust magnet, and San Jose dust is abrasive.
- Check the battery standing voltage on solar-assisted operators. If it’s below 12.2 volts heading into the long summer, plan to replace it before it strands you.
- Walk the track. Clear the track line of anything that grew over the winter: ivy runners, fallen branches, silt from roof runoff. On slide gates, grade the gravel or dirt surface under the gate and re-level any low spots that have developed.
- Tighten every visible bolt. Not just the hinges. The bolt-on post caps, the actuator mounting bolts, the operator housing screws. Anything that vibrates works loose. Use a torque wrench to spec where needed, or just snug by feel rather than rabbit-fisting things into stripped threads.
October: The Wet Season Prep
- Repeat the observation pass. Compare against April. That comparison is what catches drift early.
- Re-lubricate after the first real rain. Rain is a cleaning agent and a flushing agent. After a week of wet weather, the lubrication you applied in April has thinned or washed out of the lower hinge pins.
- Check drainage along the gate line. Make sure water flowing across the property isn’t pooling at the track or washing the soil out from under the free end of the gate. A gate that worked fine all summer can suddenly bind in November because the latch-side post settled half an inch in softened soil.
- Test the gate’s wet-weather behavior. Run a full cycle the morning after a heavy rain and watch for hesitation, grinding, or reduced speed. Moisture gets into bearings and changes their feel overnight.
- Snapshot the battery again. Cloudy winter weeks cut solar-charged batteries down fast. If you’re reading 12.4 in October, you’ll be reading 12.2 by January. Decide now whether to replace it on your schedule rather than as an emergency in a storm.
Between those two peaks, the gate mostly takes care of itself. The one worthwhile mid-summer check is a simple sound test: run the gate on a 90-degree afternoon and listen for chirps. Heat thins lubricant, and the gate that was quiet in April is the gate that tells you in August whether the grease you used is holding up to your neighborhood’s particular summer.
Common Mistakes to Avoid
- Lubricating a gate that has already sagged. This is the single most common error, and it’s the one that turns a $150 hinge repair into a $600 frame realignment. Lubrication does not address sag, and a sagging gate under power loads the hinges unevenly and accelerates the wear.
- Using WD-40 on everything. WD-40 is a penetrating rust solvent, not a lubricant. It frees stuck parts beautifully and does almost nothing to prevent long-term wear. A hinge sprayed with WD-40 will chirp again in a few weeks, and it’ll be dirtier than it was before.
- Ignoring a slow gate. A gate that closes 10% slower than it did last year is not “wearing in.” It’s working harder. The resistance that slows it down becomes the heat that cooks the capacitor or strips the gear. Slow gates always get faster to diagnose and more expensive to fix the longer we wait.
- Waiting until the gate makes noise to act. By the time a dry bearing audibly chirps, the bearing surface is already scored. The score is a crack waiting to propagate. Sound is a signal to act within the week, not the month.
- Neglecting the gate’s relationship to the ground. Soil in San Jose moves: clay swells in rain, contracts in drought, and every cycle tilts posts a tenth of a degree. The gate that was square when it was installed is gradually going out of square, and the maintenance item is re-setting the post or hinge before the misalignment chews the track or the actuator.
- Photographing from random positions. The whole value of a photo log is comparability. If each season’s photos are taken from slightly different angles, the comparison tells you nothing. Pick five positions, mark them mentally, and don’t vary them.
- Skipping the operator because it “looks fine.” The operator housing is where bearings fail silently, gears eat themselves, and connections loosen. Opening it once a season, blowing out the dust and checking the wiring, is the difference between a ten-year operator and a four-year one.
When to Call a Professional
Some gate problems announce themselves well in advance, and those are the ones this checklist is built to catch. Others are already mechanical failures by the time you notice them, and the right move is a call before the weekend project starts. If any of the pass/fail thresholds in this guide read as “failed,” call someone. If you hear grinding from the operator housing, stop running the gate and call someone. If the gate has dropped enough to drag on the ground or bind on the latch, don’t try to force it; every powered cycle is doing more damage. If your solar-assisted operator reads below 11.8 volts at rest, you’re about to lose the gate at the worst possible time.
Portcullis Gate Repair San Jose offers free estimates in San Jose. Call (669) 800-5686, we’ll come take the measurements, and the price goes in writing before a single bolt is turned. The 365-Day Done Right Promise means if the repair fails within a year, we come back and fix it at no charge. That’s not a marketing line; it’s stamped on every invoice.
Frequently Asked Questions
Twice a year is the baseline for most San Jose properties, once in April and once in October. If you’re in a tree-canopy neighborhood like Willow Glen or Almaden Valley, the morning condensation shortens the effective life of lubrication, and a midwinter check is worth adding. If you’re in the dry East Side heat around Berryessa or Evergreen, the summer heat bakes lubricant out faster, and a mid-July check is worth adding. Call (669) 800-5686 if you’re not sure which zone applies to your property.
Most hinge adjustments and hinge replacements run between $150 and $450 parts and labor, depending on whether the hinge assembly itself is still sound. A full frame realignment, where the gate has pulled loose from its mounting points or the post has shifted, typically runs $450 to $800. That’s the job the $4 bolt-tightening would have prevented if it had been caught early. For an exact written quote on your gate, call (669) 800-5686, estimates are free and the price is written down before any work starts.
Yes. Portcullis Gate Repair San Jose has live people answering the phone around the clock, including holidays. If it’s an emergency and we can get a technician out, we’ll give you a real arrival window and show up in it. Call (669) 800-5686 and we’ll sort it out over the phone first, because sometimes the fix is a ten-minute walkthrough rather than a truck roll.
A full gate installation in San Jose includes the fabricated gate or gate kit, the hinges or track, the operator, the safety sensors, any required posts or post reinforcement, and the full setup and testing of the automated cycle. The price is written before we start, and the Kingswell Guarantee covers the installation the same way it covers repairs: a year of written guarantee on the work. Call (669) 800-5686 for a free measure and a written price.
Yes. We service Mighty Mule, Ghost Controls, LiftMaster, and FAAC solar-capable units, including battery replacement, panel repositioning, and charging system diagnosis. If your solar operator is running slow or dropping voltage, we can test the battery, the panel, and the operator as a system rather than replacing parts one at a time. For an electric gate repair in San Jose quote on your solar setup, call (669) 800-5686.
A hinge that wore out because the gate was never checked against a pass/fail measurement. Almost all the gate failures we see in San Jose could have been caught earlier with a tape measure and a five-minute walk-around. The hinge that moves a quarter-inch today is a cheap adjustment; the one that’s been moving for two years is a frame realignment.
The Bottom Line
A gate maintenance checklist that only tells you to lubricate and tighten is missing the entire point of maintenance. The work that saves real money in San Jose is observation: listening for the first chirp of a dry bearing, measuring the first quarter-inch of sag at the latch post, and photographing the same five angles every season until the change shows up in the comparison. Run the five passes, measure against the pass/fail numbers, and keep the 60-second photo log. Catch the problems at the observation stage, and a $4 bolt tightening keeps doing its job. Miss them, and the gate will still tell you, just in a more expensive language. For anything you’re not sure about, call (669) 800-5686, a live person answers, and the price is written before any work begins. That’s been the rule at this Portcullis Gate Repair San Jose home since 2008, and it isn’t changing.
Written by Dean Prescott, Owner at Portcullis Gate Repair San Jose, serving San Jose since 2008.
See the difference
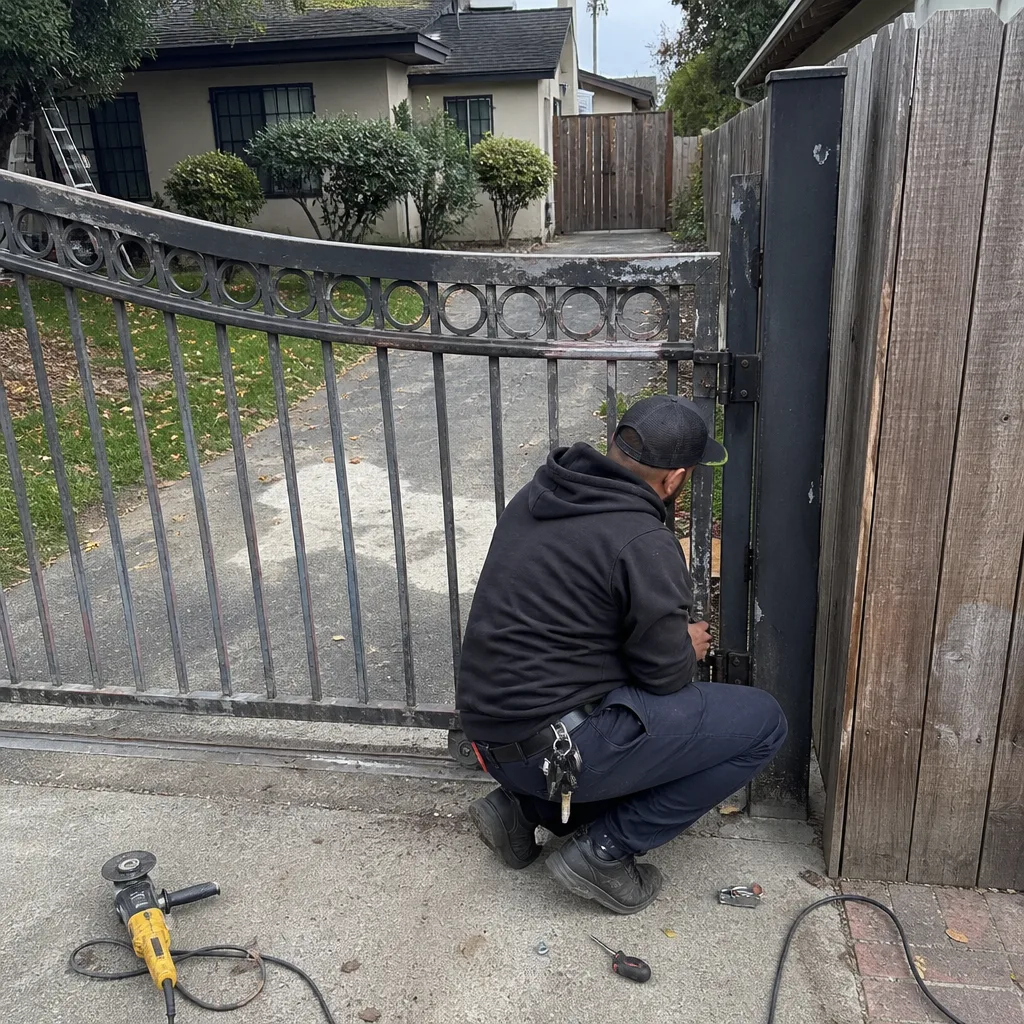 Before
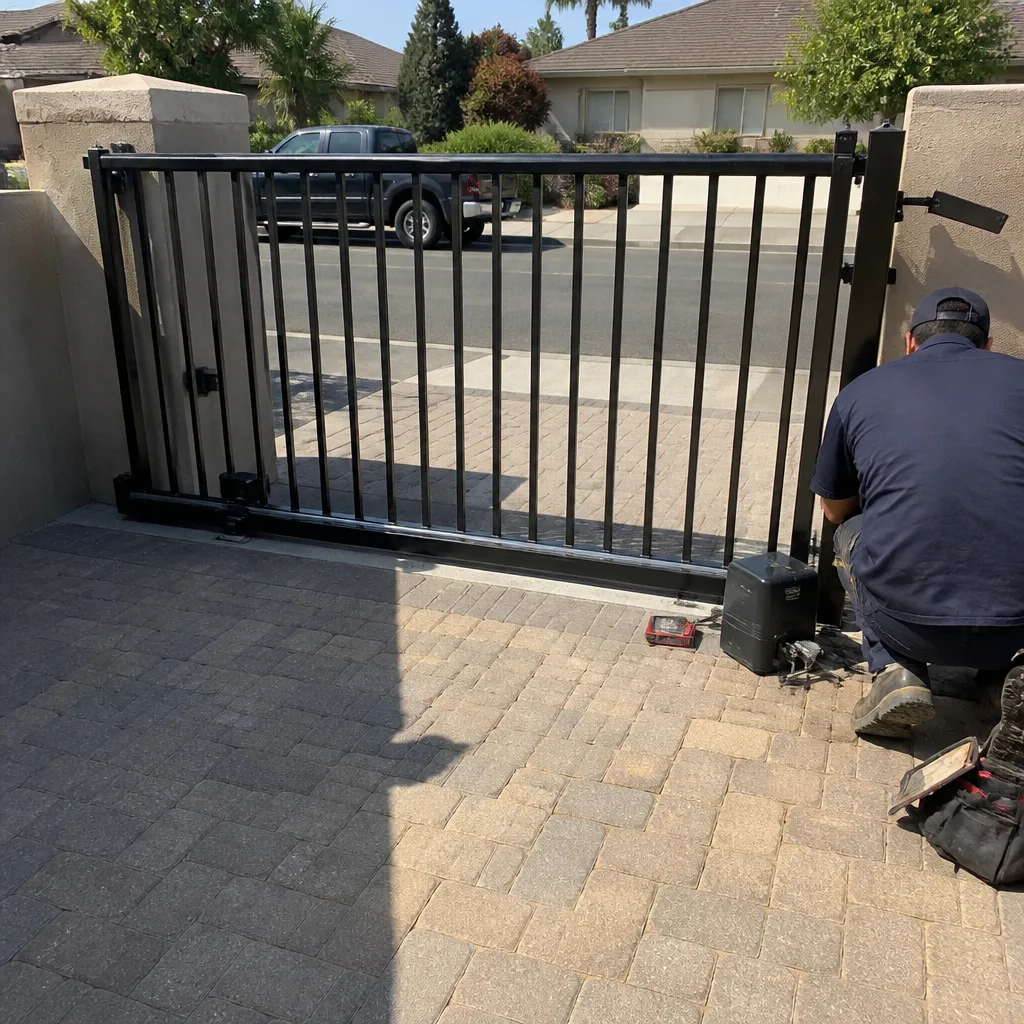 After
After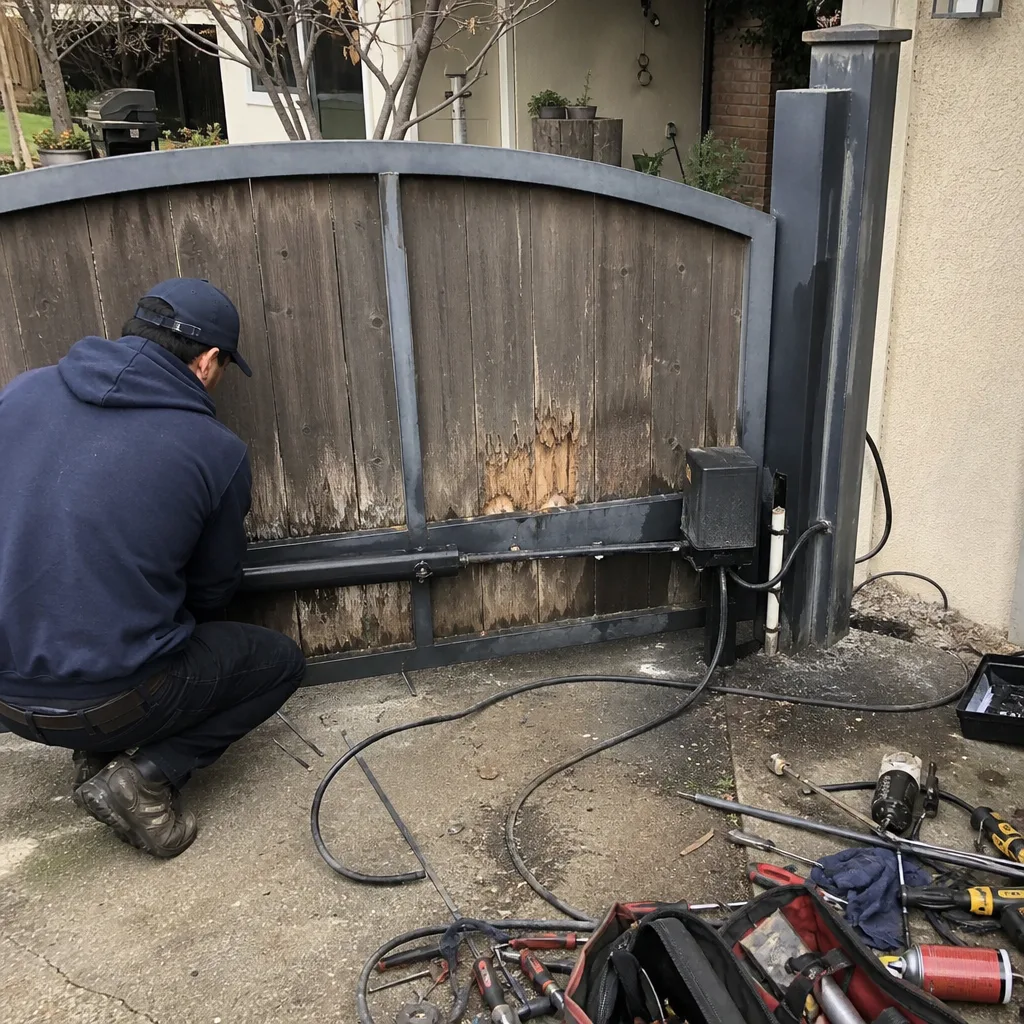 Before
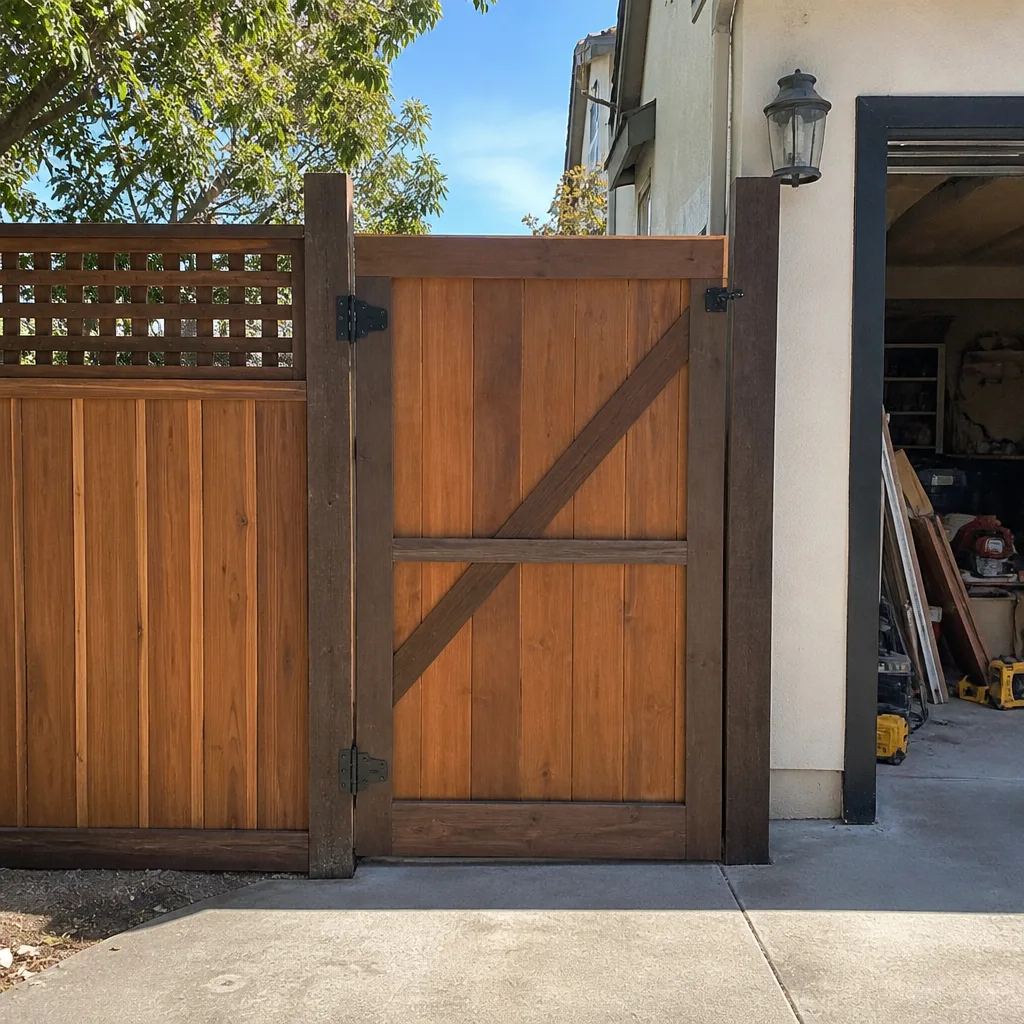 After
After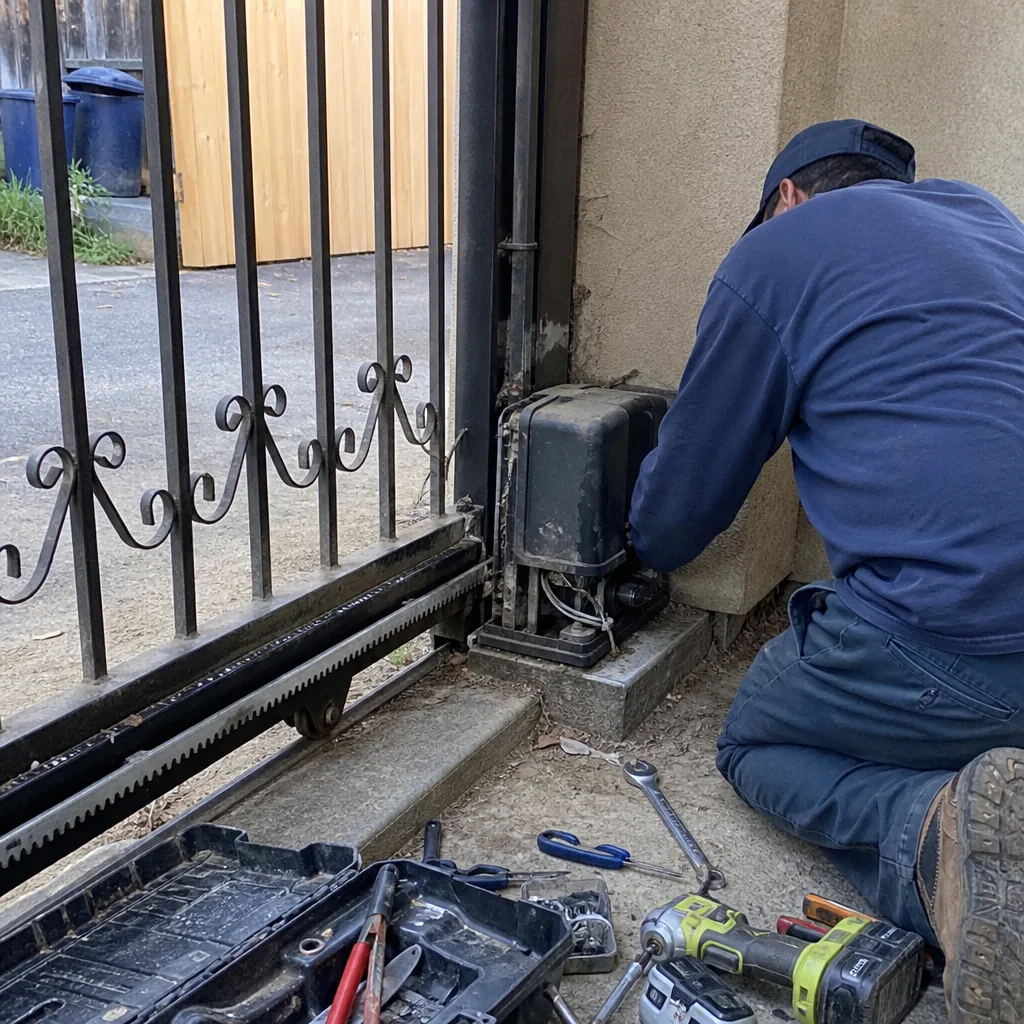 Before
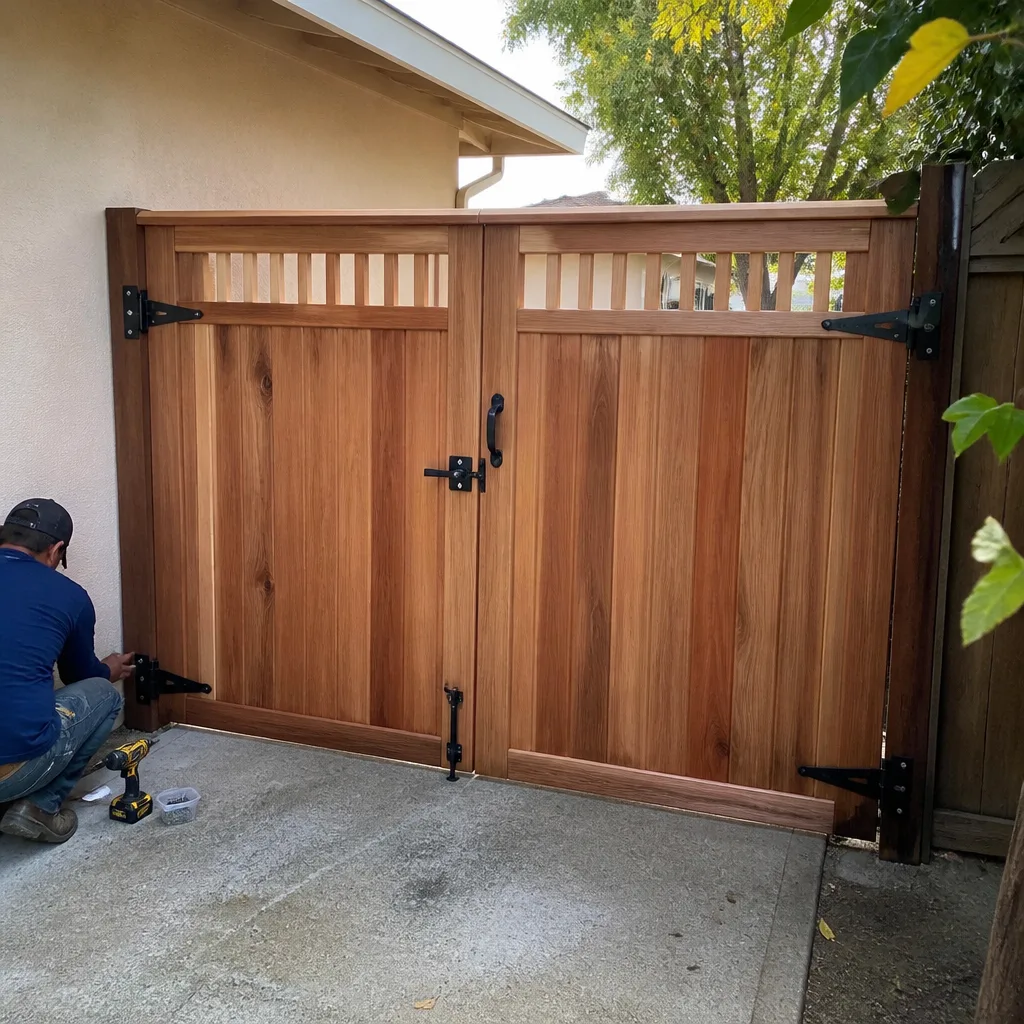 After
After